
How to Panel Line Gunpla & Scale Models Without Cracking Plastic (2026 Guide)


How to Panel Line Gunpla & Scale Models Without Cracking the Plastic (2026 Complete Guide)
Learning how to panel line Gunpla without cracking plastic is a rite of passage for every mecha, sci-fi, and aircraft builder. Nothing transforms a flat, toy-like snap-fit kit into a realistic scale machine faster than crisp, high-contrast panel lines. Yet every week, modelers watch in horror as a freshly assembled Master Grade inner frame or fighter cockpit canopy spontaneously fractures into pieces minutes after applying an enamel wash.
The culprit isn’t bad luck—it is Environmental Stress Cracking (ESC) caused by harsh petroleum and enamel solvents attacking stressed polystyrene (PS) and Acrylonitrile Butadiene Styrene (ABS) joints. Whether you are detailing a Bandai Real Grade mecha, weathering a rebel fighter from our Ultimate Star Wars Starfighter Guide, or accenting rivets on a Great Wall Hobby 1/48 F-16D Block 52+, following the right chemical workflow guarantees razor-sharp panel lines with zero structural damage.
Disclosure: Hobbyzero is reader-supported. When you buy through links on our site, we may earn an affiliate commission at no extra cost to you. As an Amazon Associate, we earn from qualifying purchases.
2026 Best Panel Lining Products Compared: Safety by Plastic Type
| Panel Liner Product | Chemical Base | Bare PS / ABS Safety | Best Modeling Use Case | Check Price |
|---|---|---|---|---|
| Tamiya Panel Line Accent Color | Pre-Thinned Enamel | ⚠️ Gloss Coat / On-Runner Only | Deep capillary flow on armor, aircraft & glossed Gunpla | View on Amazon |
| GSI Creos Gundam Marker Fine Tip (GM01/02) | Oil / Alcohol Pigment Ink | ✅ 100% Safe on Bare PS & ABS | Fast out-of-box (OOB) snap builds & shallow armor seams | View on Amazon |
| Gundam Marker Pour Type (GM301/302) | Capillary Flow Alcohol Ink | ⚠️ Safe on PS (Avoid Bare ABS) | Pin-wash capillary action without using enamel thinner | View on Amazon |
| Vallejo Mecha & Model Wash | Water-Based Acrylic | ✅ 100% Safe on All Plastics | Zero-odor apartment building, ABS inner frames & figures | View on Amazon |
| DSPIAE Tungsten Steel Scriber (0.15mm) | Mechanical Chisel Tool | ✅ Physical Groove Re-Scribing | Deepening shallow factory lines so washes stay locked in | View on Amazon |
Why Does Panel Liner Crack Bare Gunpla and Model Plastic?
To prevent cracked armor plates and broken joints, you first need to understand what happens at a microscopic level. When you snap two Gunpla parts together without glue—or force a tight peg into a polycap—the plastic experiences mechanical tension, creating microscopic stress fractures.
When you touch a loaded brush of enamel wash to a seam line, three things happen simultaneously:
-
Capillary Action Pulls Solvent Inside: Instead of staying on the surface, liquid enamel thinner races down into dark, unventilated crevices between snapped parts.
-
Trapped Fumes Cannot Evaporate: On an open wing or armor skirt, naphtha solvent evaporates in 60 seconds. Inside a closed leg joint, the liquid pools for hours.
-
Polymer Chain Breakdown: Mineral spirits penetrate those stressed micro-fissures, severing the polymer chains until the peg snaps like brittle glass.
If you want a deeper chemical comparison between enamel pin washes and acrylic inks, check out our dedicated showdown: Tamiya Panel Line vs Ink Wash – Which One’s Best for Model Kits?.
Top 5 Panel Lining Tools & Chemistry Breakdown (Pros & Cons)
1. Tamiya Panel Line Accent Color (Black, Grey, Dark Brown) — Best Capillary Flow
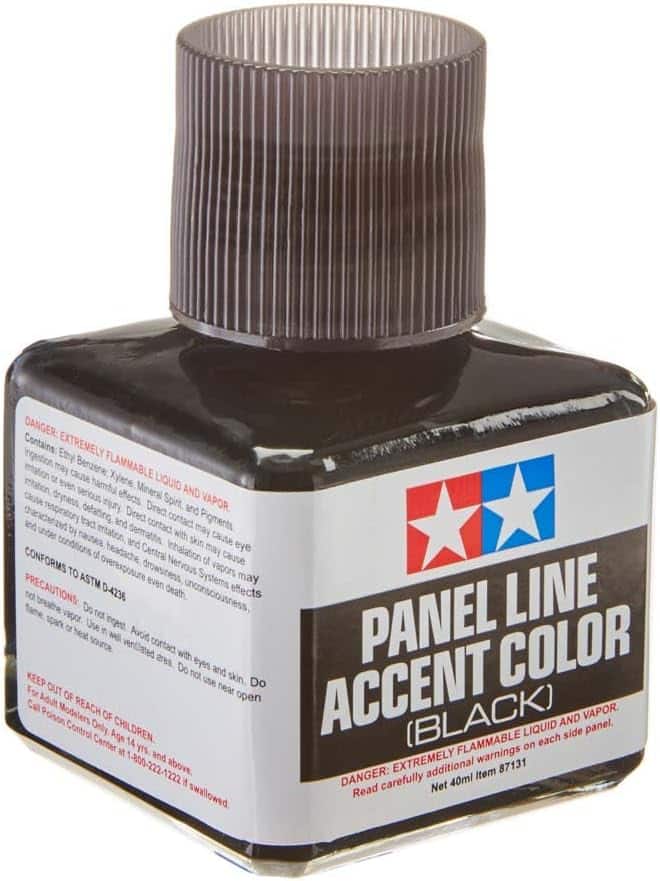
There is a reason Tamiya Panel Line Accent Color sits on almost every pro builder’s workbench. Built into the cap is a fine needle brush that lets you touch a single drop to a recessed rivet or panel line and watch capillary physics pull the pigment three inches down the groove automatically. The golden rule: always apply it while parts are still on the runner (sprue) or over a cured acrylic/lacquer gloss clear coat.
✅ Pros for Scale Modelers:
- Unbeatable self-leveling capillary flow around microscopic rivets and vents
- Wipes away cleanly with odorless enamel thinner or lighter fluid without staining gloss coats
- Available in Grey (for white armor), Brown (for yellow/red armor & camo), and Black
❌ Cons to Consider:
- Will crack bare assembled ABS/PS joints if allowed to pool inside seams
- Requires shaking frequently as heavy pigment settles at the bottom of the glass jar
2. GSI Creos Gundam Marker Fine Tip Set (GM01 Black, GM02 Grey, GM03 Brown) — Safest for Bare Plastic
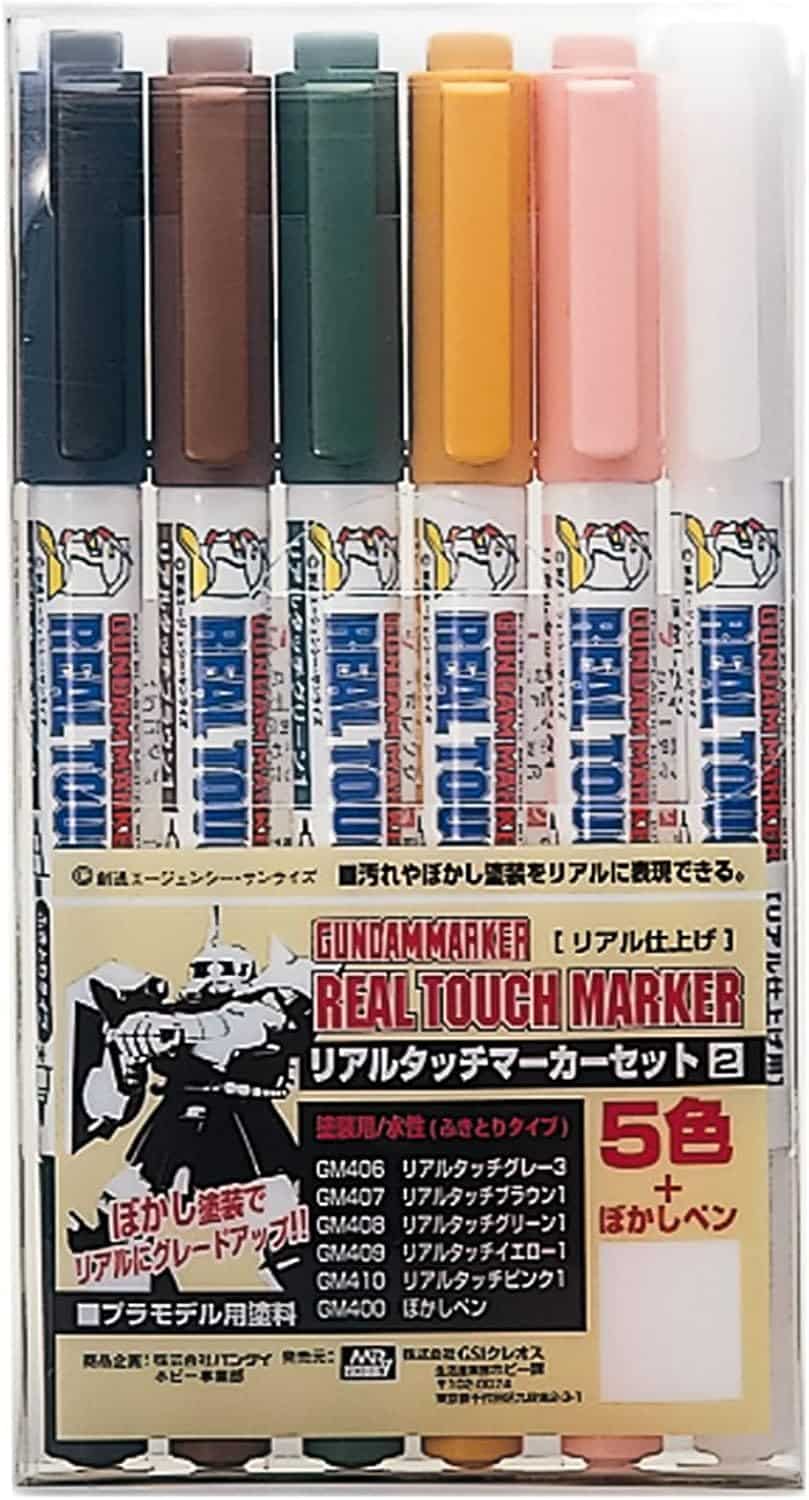
If you have already snap-built your Gunpla kit and don’t want to disassemble it or spray a gloss varnish, the GSI Creos Fine Tip Gundam Markers (GM01, GM02, GM03) are your safest option. Using an ultra-fine 0.3mm felt nib, you simply draw directly inside the recessed grooves and rub away any mistakes using a standard white polymer pencil eraser or your thumb.
✅ Pros for Scale Modelers:
- Zero risk of cracking bare polystyrene or delicate ABS inner frames
- No chemical thinners required—excess ink rubs off cleanly with a plastic eraser
- Ideal for raised edges and shallow vents where liquid washes wipe out too easily
❌ Cons to Consider:
- Felt nibs cannot reach inside ultra-narrow 0.1mm aircraft panel lines
- Drawing lines manually takes longer than capillary pin-washing
3. GSI Creos Gundam Marker Pour Type Set — Capillary Speed Without Enamel Fumes
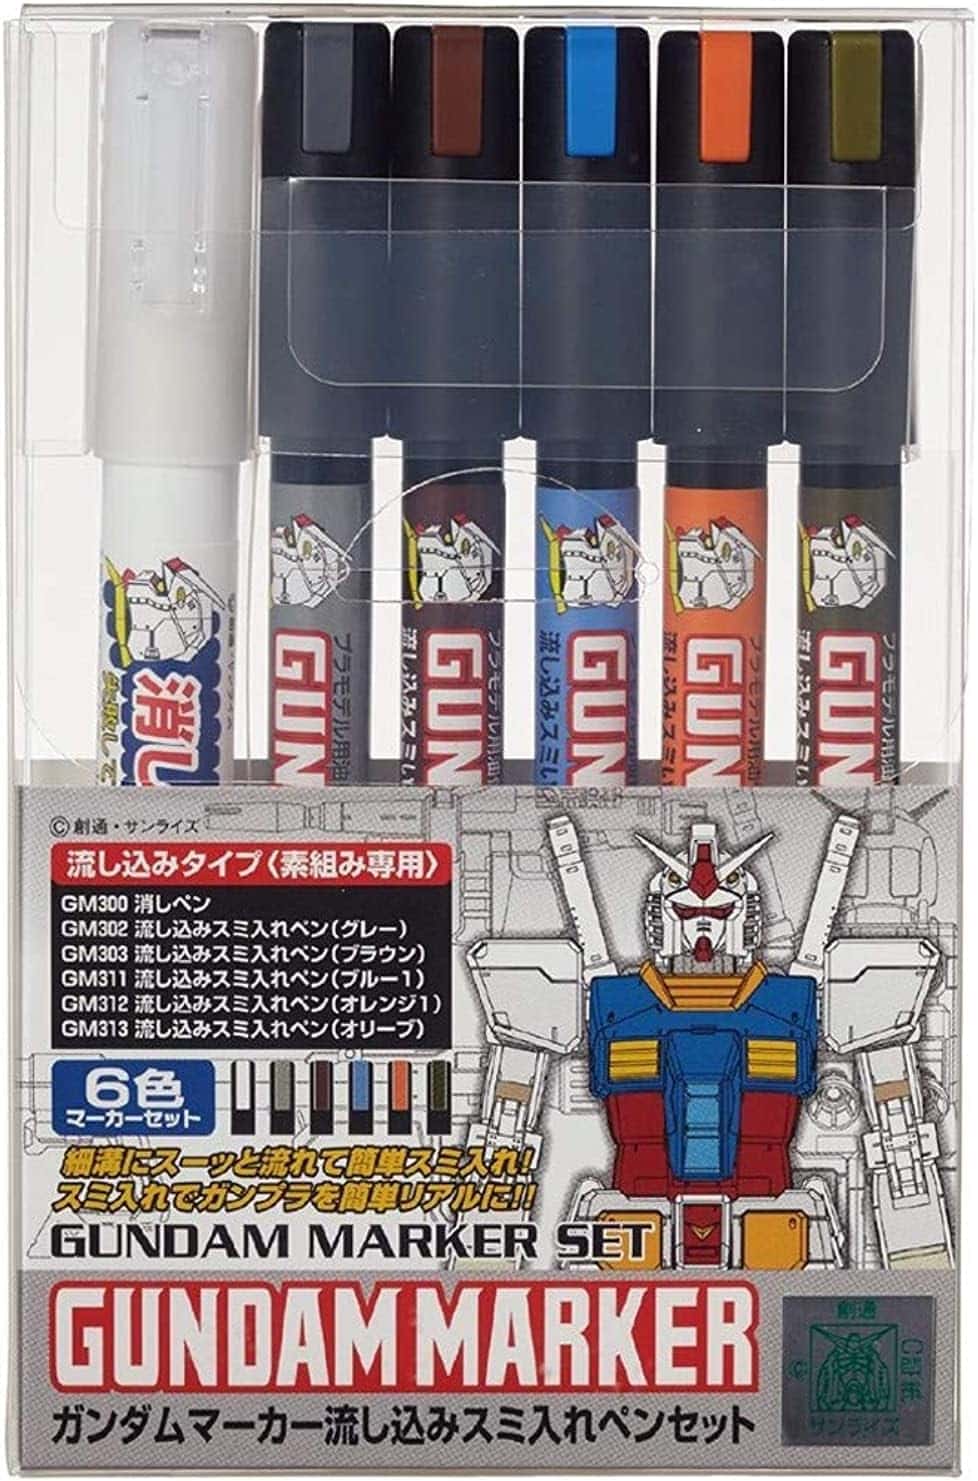
Bridging the gap between felt pens and liquid bottles, the Gundam Marker Pour Type uses a spring-loaded valve nib filled with low-viscosity alcohol-based ink. Touch the tip to a panel corner, and the ink shoots along the groove just like Tamiya Accent Color—but cleans up with 91% Isopropyl Alcohol (IPA) or a regular pencil eraser once dry.
✅ Pros for Scale Modelers:
- Fast capillary action on bare Polystyrene (PS) armor plates with no open bottle to spill
- Cleanup with a dry cotton swab + 1 drop of rubbing alcohol takes seconds
- Includes mechanical grey, brown, black, and accent colors in a 6-pack
❌ Cons to Consider:
- explicitly warns against use on bare ABS plastic (check your runner stamp for “ABS” first!)
- Will dissolve underlying acrylic paint if applied over unvarnished brushwork
4. Vallejo Mecha & Model Wash (Water-Based Acrylic) — Best Non-Toxic Solution for ABS Frames
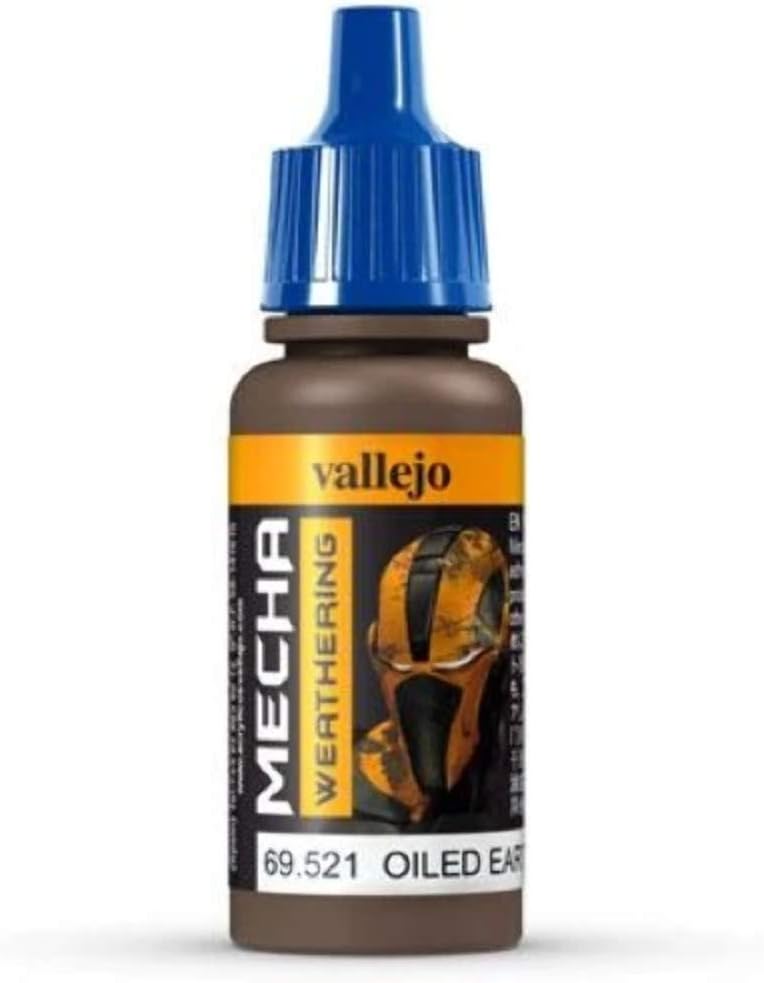
When working on load-bearing ABS inner frames, PG Unleashed skeletons, or articulated mechanical hands, solvents are off-limits. Vallejo Mecha Wash is formulated with a specialized surfactant that breaks water surface tension, allowing 100% water-based acrylic pigment to settle into recesses without harming even the thinnest stressed plastic.
✅ Pros for Scale Modelers:
- 100% non-toxic, odorless, and physically incapable of cracking ABS, PS, or PE polycaps
- Wipes away with a damp cotton bud or water within 10–15 minutes of application
- Doubles as a grime filter for 1/35 armor and Warhammer 40K vehicles
❌ Cons to Consider:
- Higher surface tension than enamel means you must brush along the line rather than single-drop tapping
- Dries quickly—cleanup must be done panel by panel
5. DSPIAE Tungsten Steel Push Broach Scriber (0.15mm) — The Secret to Crisp Lines
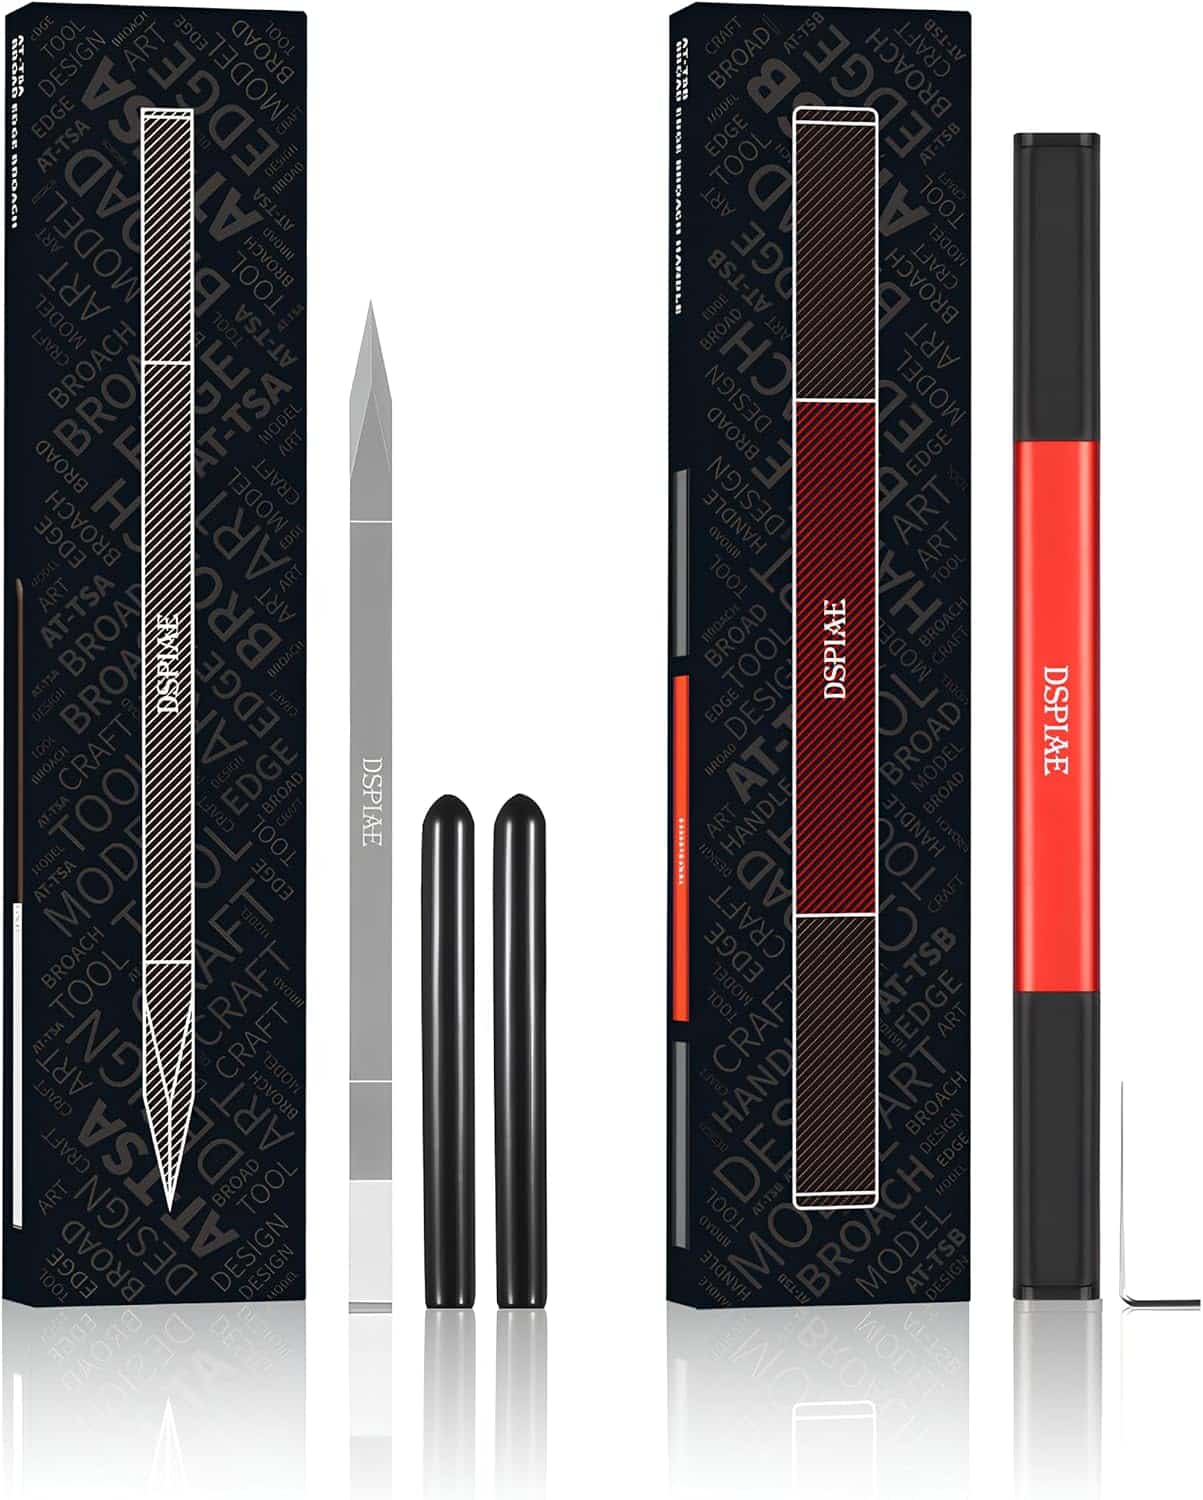
Ever wonder why your panel wash keeps wiping completely out of a groove when you clean up the excess? Factory injection molds—especially along curved shoulder armor or fuselage halves—often produce shallow, U-shaped trenches. Passing a 0.15mm DSPIAE Push Broach Chisel lightly through existing lines twice carves a crisp, square-bottomed channel that locks dark pigment inside.
✅ Pros for Scale Modelers:
- 0.15mm width matches 1/144 High Grade, Real Grade, and 1/48 aircraft factory lines perfectly
- Shaves clean plastic curls rather than plowing raised ridges along the groove edges
- Essential when restoring lines lost after sanding seam lines with plastic cement
❌ Cons to Consider:
- Tungsten carbide tips are ultra-hard—dropping the blade onto a tile floor can chip the tip
- Requires hard scribing guide tape when carving brand-new custom panel lines
The 4 Golden Rules to Never Crack a Kit Again
Whether you are building an out-of-box Gunpla or a complex multimedia aircraft like Das Werk’s 1/32 Messerschmitt P.1101, follow this four-step sequence on your bench:
-
Panel Line on the Runner (Before Assembly): Before clipping a single piece off the sprue, apply your Tamiya Panel Line Accent directly to the unstressed parts on the runner. Because there is zero peg tension and 360-degree airflow, the enamel solvent evaporates harmlessly in under two minutes.
-
Respect the “Opposite Chemistry” Barrier Rule: If you paint your kit using water-based acrylics (follow our Painting Models with Acrylic Paint Beginner’s Guide) or lacquer sprays, seal the parts with a Gloss Clear Coat and let it cure for 24 hours before applying an enamel wash. The gloss coat acts as an impermeable shield over the plastic and allows capillary action to glide twice as fast.
-
Never Touch Seam Lines Between Two Halves: Always distinguish between an engraved detail line (molded into a single piece of plastic) and an assembly seam line (where two separate pieces meet). Never tap liquid panel liner onto an unglued assembly seam—it will wick straight inside the hollow limb and split the internal pegs. If you are fusing seams permanently, check out our guide on What’s the Best Glue for Plastic Models? first.
-
Use a Barely Damp Pointed Swab for Cleanup: The #1 cause of late-stage cracking isn’t the panel liner itself—it is flooding the model with enamel thinner on a soaked Q-tip during cleanup. Dip a pointed hobby swab in Zippo lighter fluid or odorless enamel thinner, roll it on a paper towel until 90% dry, and wipe perpendicular to the panel line.
🛠️ Essential Panel Lining Cleanup & Prep Kit
Fuzzy drugstore cotton balls leave lint fibers trapped in your panel lines and hold way too much solvent. Upgrade your workbench with these four precision essentials:
- 🔹 Lint-Free Precision Cleanup: Tamiya Craft Cotton Swabs (Triangular Extra Small – 50pc) — Hard-spun pointed tips erase tiny enamel dots without pulling wash out of the trench.
- 🔹 Protective Gloss Barrier: Mr. Hobby Mr. Super Clear Gloss Spray (UV Cut) — Creates a glass-smooth shield that prevents enamel washes from touching bare plastic.
- 🔹 Gentle Enamel Cleanup Solvent: Zippo Lighter Fluid / Odorless Enamel Thinner — Evaporates 3x faster than hardware-store mineral spirits, drastically reducing plastic stress risk.
- 🔹 Final Flat Topcoat Seal: Mr. Super Smooth Clear Matt Spray — Locks in your panel lines and water-slide decals with a dead-flat military finish.
Frequently Asked Questions (FAQ)
Should I use Black, Grey, or Brown panel liner on White Gunpla armor?
Pure black panel liner on bright white armor often looks overly harsh and cartoonish, like a comic book drawing. Professional builders follow the Color Harmony Rule: use Grey on white and light grey parts, Dark Brown on yellow, orange, red, and desert tan parts, and Black on dark blue, dark green, and metallic inner frame parts.
Do I panel line before or after applying water-slide decals?
You can safely do both after your initial gloss coat, or panel line first, clean up any excess solvent, and then apply your water-slide decals (such as high-detail sets like the Double Excellent Models VF-31 “Tomcatters” Release). However, if a decal crosses directly over a recessed panel line, slices the decal gently with decal softener first and run a tiny drop of wash across the decal crease afterward so the line doesn’t disappear under the carrier film.
Can I use Tamiya Panel Line Accent on 3D-printed resin parts?
Yes! Unlike injection-molded polystyrene or ABS, fully cured UV photopolymer resin—like the aftermarket cockpits featured in our Reskit 1/32 F-16C Block 50/52 Cockpit coverage—is completely impervious to enamel thinner cracking. Just be sure to prime and gloss-coat the resin first so the wash doesn’t stain microscopic printing layers.
