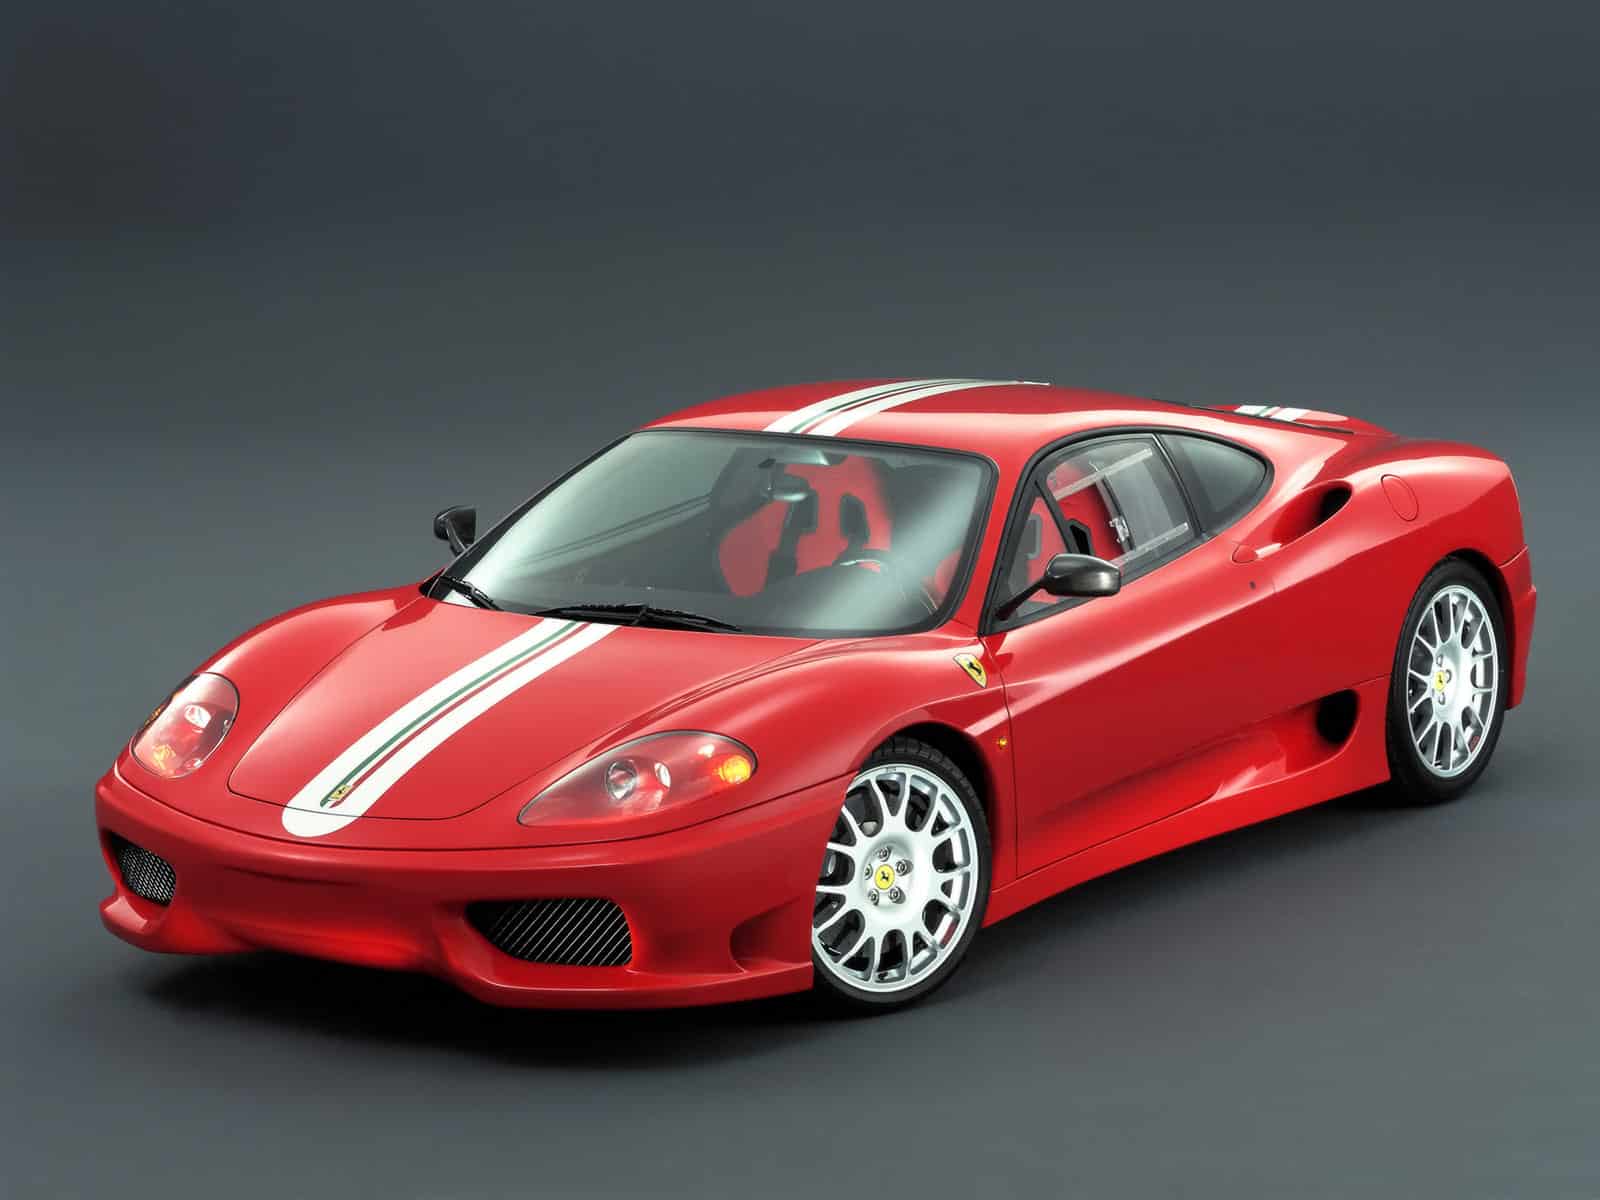
You want to build a great sports car with your own hands, but you don’t know where to start. You are looking for the answer to this question; What is a Model Car?
You’re in the right place, the answer to all the questions that are attached to your head in this article. This handy guide will go over some of the most frequently asked questions about car models and help you choose your first kit and supplies. Read on if you’re ready to start a new hobby.
What is a Model Car? What are we doing?
We’re making a scaled-down model of a vehicle that actually exists. For fidelity, accurate colors, and details, the images, and documents of the original tool are very important. Ask the question, “What is the original size of this piece?” For every detail, you add to the model. To go out of the original and make changes to personal tastes, the “Custom” is called a personalized model. But without breaking the rules, you need to know the rules.
By seeing the published models of the modelers who have not learned the basic techniques, making fancy applications, and wanting to apply excessive detail will not be a good result.
The modeler must first choose an “out of box” model, which is a competition category and fully apply the techniques of leveling, clean paint, and craftsmanship.
Don’t compete against time, remember you’re a model for a good time. If you get bored in a phase of the model, do another part.
It is the best part of this hobby to have a look at a model you’ve finished and share it with friends.
-Which Kit should I buy?
You should get the best kit you can find in your favorite car. Do not select models with Chrome for the first models.
Kit manufacturers have classified models. In the engine called “curbside” 1. The degree of skill requires sometimes glued, sometimes snap-in “snaps” (Skill 1) kits, very detailed 5. Products. As the degree increases, the number of parts and detailing and price are increasing.
Pay attention to the scale. Don’t complicate your collection by making a 1/24, a 1/32, or a 1/12.
Store every model you make and showcase it with pride. It will show your progress to you and your viewers. Each of your models will find defects with pleasure, both you and other modelers. Your best model is to do it later.
For the lecture, I chose the 1/24 Tamiya Ferrari 360 Modena.
While the word “every hand tool pays off” is true; Simply for a car model;
- Model knife: A high-quality model knife with a metal body, with a knife attached to the end of 11,
- Adhesive: Needle or brushed adhesive according to your application preference for plastics. For details, not too thin cyanoacrylate i.e. glue, double-sided tape, mastic or dough adhesive, called “Japanese” adhesive, glass maker or transparent piece adhesive,
- Tweezers: 5 number watchmaker tweezers to hold small pieces, reverse tweezers, which will be needed during dyeing,
- Abrasive: 500-1200 between water sanding, sponge sander,
Top-quality mask tape, - Large nail clippers with electrician side cutters and flat rim,
- Stickers-Dekal application chemicals,
- Putty paste for filler,
- Compound for polishing, white auto cake, and silicone lacquer,
- Hand mandrel and drill bits for opening detail,
- Brush and paint will suffice for small parts.
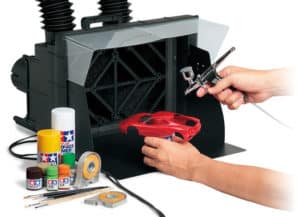
Protect the model from direct sunlight. The installation location of the model must be clean and dust-free. Hand tools should not be scattered in the middle but should be organized in easy reach according to your personal preference.
PREPARING THE MODEL FOR PAINTING
The kits we will work on are called plastic injection kits. They all come out of a mold. The disintegrating chemicals in the mold remain on the plastic and must be cleaned. Otherwise, when the primer is discarded, a damaged surface called silicone is formed and the paint cannot stick
- The frames that contain the parts in the kit are called “trees”.
- We must wash the trees in the washbasin full of water, which is foamed with dishwashing detergent, and rinse and let them dry.
- Do not wipe to dry… (static electricity is generated)
- You can also remove large pieces with a cologne wipes without cream.
MODEL CAR BONDING
Plastic adhesives are bonded on the principle of melt-welding, they are based on acetone. Apply a little to the parts and wait a little while to react. Do not be afraid if it overflows or drips to the unwanted place, it is easily sanded when it freezes and leaves no trace. It is better to have an overflow when pasting. The more smooth you paste, the less leveling.
The edges of the chrome-plated parts should be gently scraped with the tip of the utility knife.
When installing the chassis, follow the company description, it is useful to work on smooth glass. Some companies give a monolithic chassis, some give a fragmented chassis. You should use a slightly dark adhesive to increase the time of intervention and give importance to smoothness and symmetry.
If there is an error that you detect later, it will take a little more adhesive to these places of adhesion and wait for it to melt.
Brake disc, drum carrier elements such as rim, tie rod, steering components such as axle, the movement of the wheels, steering movement are designed separately in each company.
Some brands put together a Teflon piece, some with a heated screwdriver bit melt-welding, some use snap-fit called, some give a metal part.
Try not to use too much glue in these areas and follow the instructions.
Re-balance the rod.
MODEL CAR CUTTING PARTS
When cutting parts from a tree, use a side chisel or a large nail clipper with a straight rim, and never try to tear it off.
It is necessary to cut some parts slightly and sand the remaining extension. This technique is well suited for transparent parts such as glass.
Think carefully before cutting the parts, keep an empty box so they don’t get lost. Sometimes it is useful to paint the pieces on the tree. Check whether the joints or glues appear.
MODEL CAR LEVELING
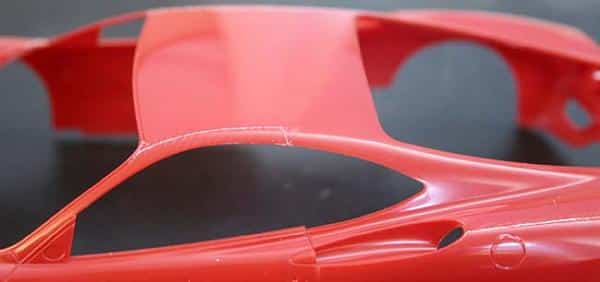
As the kit exits the mold, there are lines that should not be in some places according to the technique of the firm. These are called “mold marks.” You should detect and destroy them by looking at the original pictures.
If you move the soft-tipped white coloring pen where you suspect it, mold marks will appear.
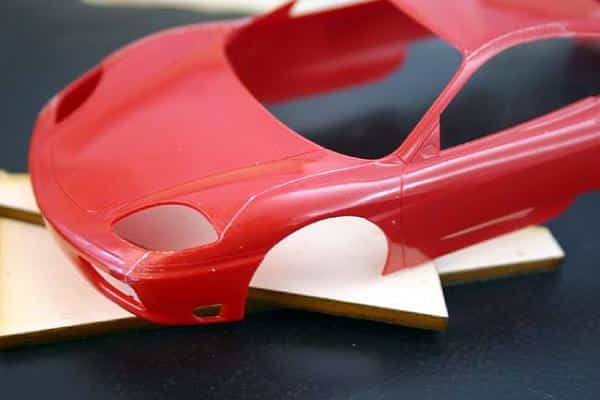
Another trace is the vacuum traces. They need to be filled with putty called putty. In this kit, these traces coincided with the closure.
When leveling mold marks: in some brands, when the mark is destroyed, an inward slash line occurs and you need to fill it with putty. When sanding and filling, it is necessary to protect the details and the surrounding area with mask tape.
You can sand open to the appropriate place, you can use sponge sander in corners or curved places.
It was also thought that the modeler would not paint in such kits. General surface is glossy plastic. After leveling with patience should apply to the polishing process.
This luster model is useless for the person who will paint, it is best to wet the general surface to hold the primer. If desired, very little detergent is added to the water. (Always wash your model very well before painting.)
MODEL CAR GROUPING AND PART COMPATIBILITY TRIAL
When reading the descriptions of the model, we should mark the parts with the same color and, if appropriate, stick the same color ones.
For example, first, the engine is collected, interior, cockpit, door interior is prepared and painted to clean carton, plywood with mastic, double-sided tape is attached. Mirrors of the same color as the body are installed.
- When grouping, maybe you need to apply the bumpers like sticking them to the main body. Before making these stickers, you should make a fit test called “test fit”.
- Interior glued, engine replaced with a chassis body, and how to combine?
- Do the parts match?
- First of the rear bumper that is exhausted first, then the front side will be glued?
- If the doors remain inside the cabin side, does it contract to the bonnet?
- If there is any other question or answer, we have to settle it.
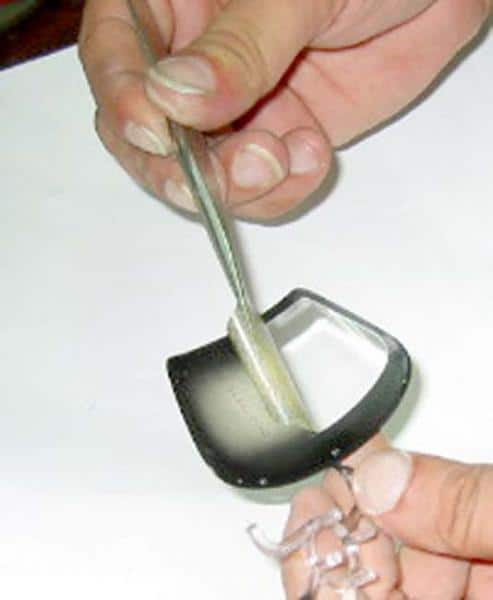
MODEL CAR MASKING
Some modern kits provide additional ready-made masks for the windows of vehicles. Those who are unsure when applying them may drip dishwashing detergent foam onto the glass for the appropriate position and save time for application.
Right-handers should glue the upper right corner, preferably 1 at a time to glue properly.
After gluing, you should wipe it with a dry lint-free cloth and use a round toothpick with rounded edges.
Paint it from the inside and carefully remove the mask. If you notice it in the photo, it is not cut from the windshield tree because it does not appear when stuck.
MODEL CAR PAINT SELECTION AND PRIMER
The most frequently asked questions are in this group. What is this Enamel, Acrylic?
A- Synthetic enamel
Paints are simply made up of pigments and carriers. Thinner or thinner with Turpentine. Enamel model dye is in this group. “Model Paint” is the most known name. It is called late-drying paint için because it sticks to the surface and dries out from the discarded surface. In the car, it should be applied with an airbrush-air gun.
In brush application, the paint should be thoroughly mixed in the box with a clean construction nail or similar rod, a piece of which should be taken out and preferably thinned with pure turpentine.
Box enamel paints, even if a thinner brush is spoiled, you will use as much paint as you prepare in another container. Do not put the thinned paint back in the box and consume it within a week.
The name of the enamel paint in the spray may be synthetic. Those who choose synthetic spray in the model must finish everything synthetic, including varnish. Cellulosic or acrylic products cannot be used on synthetics.
B-Cellulosic-Acrylic, Water-based Acrylic
They are alkyd resin carrier paints. Nitro-cellulose-based thinner because they contain more caustic. Particulate adherence. It is known as a “quick-drying paint” because it freezes from the applied surface. However, the full reaction takes 12 hours.
Water-based acrylic means a paint that can accept 20% water and cannot be added or applied.
Applying Acrylic with Brush is more unsuccessful than enamel, and cellulose is catastrophic …
They are applied with an airbrush or spray. In the 80s, when I started modeling, it was not available in acrylic spray form.
C-Lining
The burning of cellulosic-acrylic paints increases the importance of primer.
“Primer attaches to the model, the paint attaches to the primer”. Sprays or paints applied without primer easily penetrate into the plastic surface and break down into small cracks.
Since automobile modeling is generally clean, we should use a primer for a beautiful model. You’ll give me the right when the topcoat primers do wet sanding.
MODEL CAR PAINTING
-Bold thick newspaper cools to the floor before painting. Preferably spray 50% glass wipe + 50% water or soak in water only. You get along well with the dust and the household.
– Find a cardboard box big enough to cover the model, cut the covers. Find the supports that fit this box, keep the box 2-3 fingers above the newspaper, and try to protect the model with this box before painting.
-After the main color and varnish, you can protect the model from dust by wiping and moistening the inside with a wet cloth.
In spray paints, chemicals sink to the bottom. We should keep both primer and paints in hot water, then rinse thoroughly. The water should be hot, not boiling.
Spray distance should be up to 1 box length. If you have received a large spray, a distance of 10-15 cm is ideal.
First Lining
We carefully apply a straight line primer to the model fixed to a lath with mastic.
– Try the distance and the speed of progress on a plastic box outside the model. If you proceed slowly, you will have a plump “wet” layer, and if you proceed quickly, you will throw a thin layer called “dusting”.
-Spraying starts outside the model and ends outside.
-Standing on the model, turning back, should not shake.
-Pit places before the light coat “dust” should do.
-The longest surface of the model is painted first.
– It is essential not to completely cover the plastic on the first floor. This spray can sometimes be difficult.
– We should make the spray flat into a tape, apply the second tape homogeneously over the first tape.
* The weak side of the sprays is the very high pressure spraying first, the decrease in pressure as the paint decreases.
– Use very low spray carefully.
– Do not shake, heat again. If you spit like the Lama instead of the most beautiful model you will remember me !!!

