Clayton’s build for Takom’s Tiger I late 35th scale 2 in 1 kit.
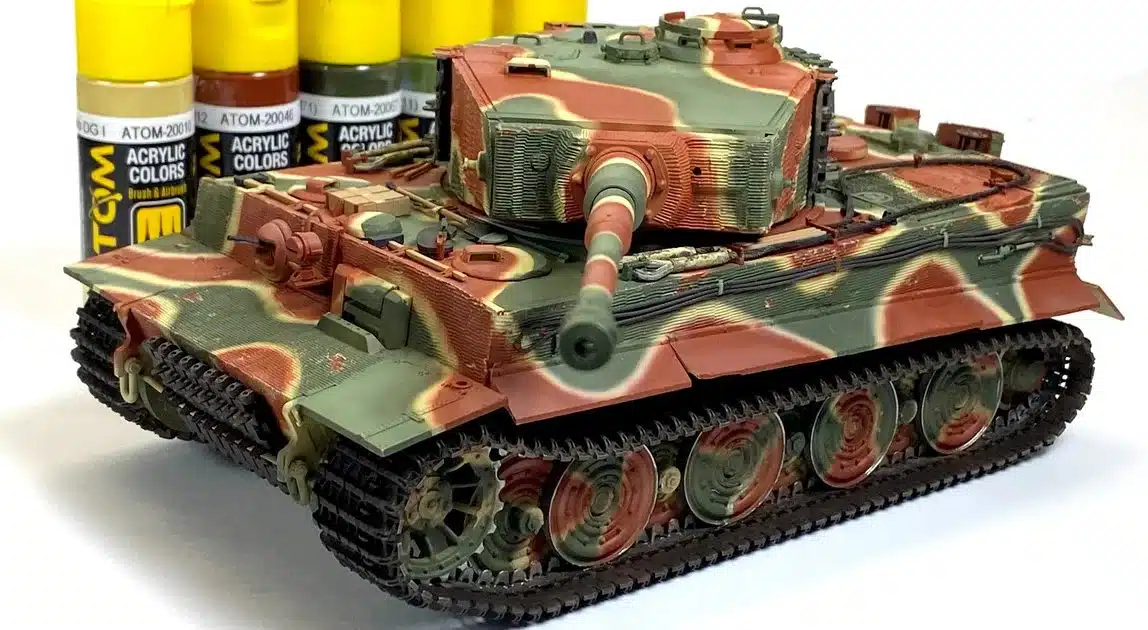
Clayton’s video today is about the painting of a rare Tiger. Watch his video review of the ATOM paints he used to finish Takom’s Tiger I Late Production. Weathering is next, but strap in to watch his video of how he applied the shades to his kit today…
.webp)
From Takom
Kit No: 2199
1/35th scale
Stowage included
Tracks with a jig included for assembly
Photo-etch included
Metal barrel option included.
Twisted cable provided for towing cable
Judging by the response to the first video in this build series we did need another Tiger, and Takom seems to be on a real winner with this release.

The
of this in a build review:link to the last instalmentIn my latest video I’ll take you through a couple of corrections from the build from a few weeks ago. I’d be testing the ATOM acrylics by AMMO. I’d been given a comprehensive set of

to try, so I was intrigued as to how they would perform on my preferred scale of 1/35th.
The scheme I had chosen to tackle was the unique scheme of the 102nd Heavy SS Panzer Battalion) – Some examples of similar paint schemes that I drew from…German WW2 coloursLooking at the instructions you’d be forgiven in thinking the scheme was a hard-edged camouflage, but in reality, the scheme was applied using a spray gun and should have soft, but tight lines in the shapes.

I had been debating the best way of painting this scheme. I even bought a set of masks to help me. But the masks gave me hard edges, when the scheme should have soft, tight lines. To define my scheme, I chose to use a BluTack mask.
.webp)

Strap in now and click the frame to see the video of my painting sequence for the kit with a review of AMMO’s new ATOM paints being used in this instance.
2.webp)
https://www.youtube.com/watch?v=Q-ZkNKU6pEI
CONCLUSION
The video:
Strap in now and click he frame to see the video of my painting sequence for the kit with a review of AMMO’s new ATOM paints being used in this instance.
CONCLUSION
.webp)
The paints:
Clayton Ockerby
.webp)