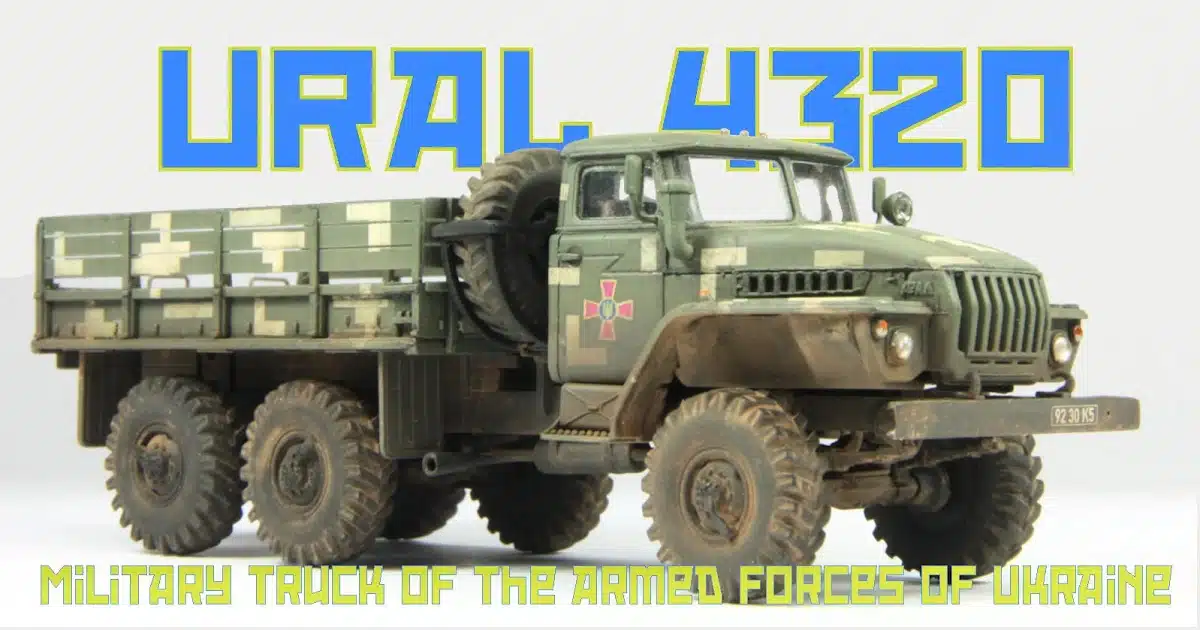
ICM URAL-4320 in 1:72 scale
We present to you the second half of Andy King’s build for the ICM URAL-4320 72nd scale truck. Today, he tackles Pt. II. He takes on the digital camo scheme, weathering & painting of this model. II today…

From ICM Holding
1/72nd scale
Kit Number: 72708
Length 105mm kh Height: 38mm
Model showed the initial construction work of this diminutive workhorse, while
.webp)
In part 1 I focused on the build so in this part I’ll show how it was finished and to begin with the model was sprayed overall with Tamiya LP-3 Flat Black.
.webp)
Next, the model was sprayed with AK RC073 4BO Protective Green (including the cab interior) then some Tamiya LP-4 was mixed into it and sprayed on the upper surfaces to try and add some contrast. Tamiya LP-5 Semi-gloss Black was used to spray the chassis and wheel centers. After letting the gloss varnish dry, the model was left to harden for about a week. This is because it tends to mark easily. The decals were supposed to conform to bumps and lumps. However, when I looked at them, there was a problem, especially with the first option. The decals were reversed. I thought I could use them, but that would mean a lot more cutting. I chose the second option. It’s also a problem that only one side of the instructions is shown, so I would have to guess what the other side looks like (unless it is the mirror image). The instructions do not show two of the boards on the top sides of the cargo box as they are just blank spaces. After following the instructions, this is where I got to.

Quite a lot was missing so after that it was pure guesswork as to where the rest of the decals went and I ended up with this. The instructions were very clear. I followed them to the letter. After applying the decals, they had to be immersed in decal solution (I used Micro Sol). This was crucial because the model could have been ruined if the decals didn’t adhere. There were a few areas which needed some attention, but overall the results were good. The dodgy parts were removed with a scalpel. Vallejo acrylic was used to touch up the decals. Due to the size of the car, it was left to dry. After a few hours I then sprayed the model with VMS satin varnish and although I was pushing my luck with the drying time of the oil paint there was no adverse reaction.

This varnish gives a really nice finish after spraying and leaving it to dry for a few hours. Since I began using VMS Satin varnish, I think it gives my models an improved look. It has just the right amount of sheen and is not too overpowering. The final details, such as lights and the number plate on the rear left mudguard were then painted. After painting the edges of the thin strip it was attached to the rear right mudguard. The model was then completely assembled, given a dusting of MiG “European earth” pigment and fuel stains painted around the fuel tank and it was done.

Well, what do I think?
Considering the age of the kit and the fact it was tooled by another company (Omega-K) it’s not a bad little kit and although I had reservations about the decals, they performed pretty well considering the raised details they had to contend with (although I strongly recommend a gloss surface and decal solution).

A walk around of the kit…It was a shame about the reversed decals for the first option but if you want to do that version you’ll need to have a sharp scalpel blade handy or just not be that pedantic.

Andy King

Thank you to


for supplying the kit to build for you all…