Part 1 described how to assemble the model, and now this section will concentrate on finishing. I started by spraying the black primer on the model before applying the primary colours. Then, the chassis and fenders received a coat of Tamiya XF-1White. Finally, the red was applied over the top. I did this to help the coverage of the red as spraying it directly onto black would not have worked.
Before painting the bodywork, the barrels, wooden base of the cargo bed and trailer were sprayed in XF59 Desert Yellow, lightened and darkened to give some tonal variation.The wooden areas were then sprayed with AK Worn Effects, after which the cab and bodywork were painted with Tamiya XF-8 Blue. After lightly spraying the blue in various panels, planking, and body panels with white to lighten it up, I then lightly painted between panel lines. Although I had initially used LP-78 for the cab interior the results were not that good (probably due to user-error) and why I opted for XF-8 instead. Using a flat and fairly stiff brush and water, I began scrubbing the bases to reveal the wood colour underneath…
…and deeper.
The point of this was to replicate wear and tear on the cargo beds due to the barrels being taken off and on. The chassis of the trailer was something I forgot to do. So the sides, underneath and the tyres were all carefully painted. After masking off the tyres on the front axles and towing hitch, the wheels of the trailer were painted with XF67 German Grey. After painting the inside of the cabin, it was time to use tap to remove the transparent areas and apply the first shade. To introduce tonal variations, some barrels were sprayed completely yellow while others were sprayed a lighter shade of desert yellow. They had all been painted with XF59 and were base coated at the same stage as the cargo bed. The barrel on left is before I applied the clear yellow. The bands were then coated with graphite and decals applied. The barrels are finished with a thinned oil wash in sepia. The bases for the barrels were just painted with oils the same as the barrels were and left as is as they wouldn’t be that visible on the finished model.
Final thoughts…
With the different colours used and painting all those barrels it took longer than I expected and the model was becoming a bit of a chore, it has to be said that the colour scheme did complicate the build somewhat as attaching the rear mudguards was tricky and I had to eventually remove the two locating pegs on one of them to get it to fit.
Still it made a nice change from the usual military subjects I build and makes a colourful addition to the collection, just be prepared for a little more work and forward planning.
The trailer…
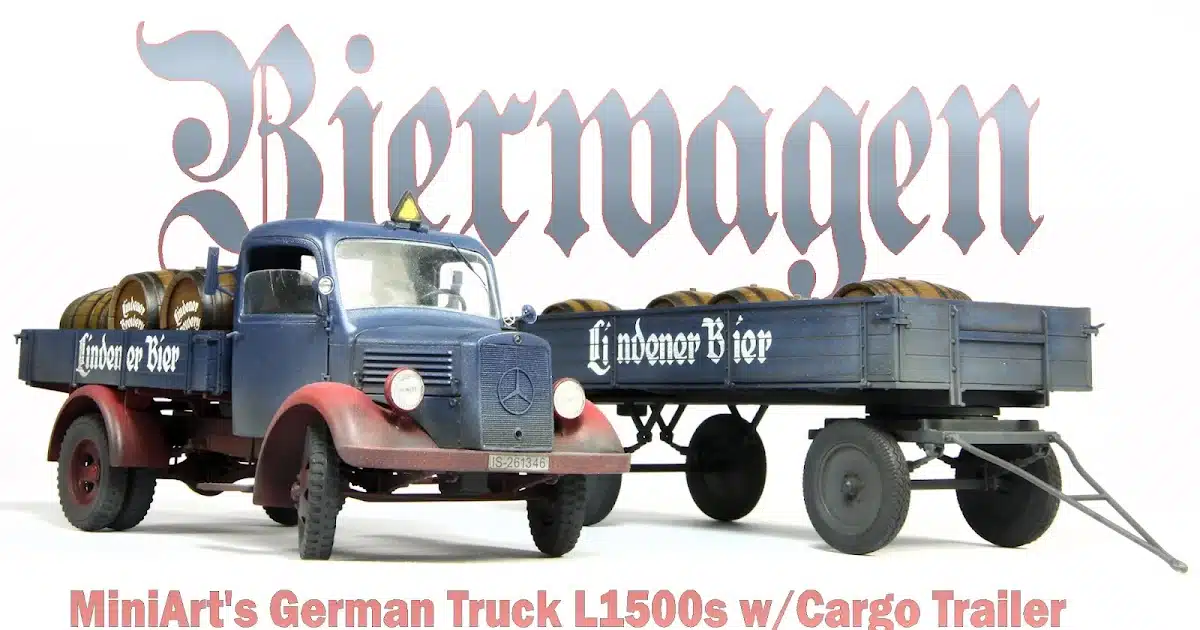
…the truck & trailer together – ready to go to work.
Thanks to MiniArt for sending this kit to Andy to make and review for you. See more about all of MiniArt’s kits
Addendum: Kit Instructions
About Haluk Cetin
I'm Haluk, everyone calls me Hulk. Skydiver, Scale modeler, and Frontend Developer. Hobbyzero.com author.
.webp)
.webp)
.webp)
.webp)
.webp)
.webp)
.webp)
.webp)