
Micro Set vs Micro Sol vs Mr. Mark Softer: Stop Decal Silvering

Disclosure: Hobbyzero is reader-supported. When you buy through links on our site, we may earn an affiliate commission at no extra cost to you. As an Amazon Associate, we earn from qualifying purchases.
Micro Set vs. Micro Sol vs. Mr. Mark Softer: How to Stop Decal Silvering Forever (2026 Guide)
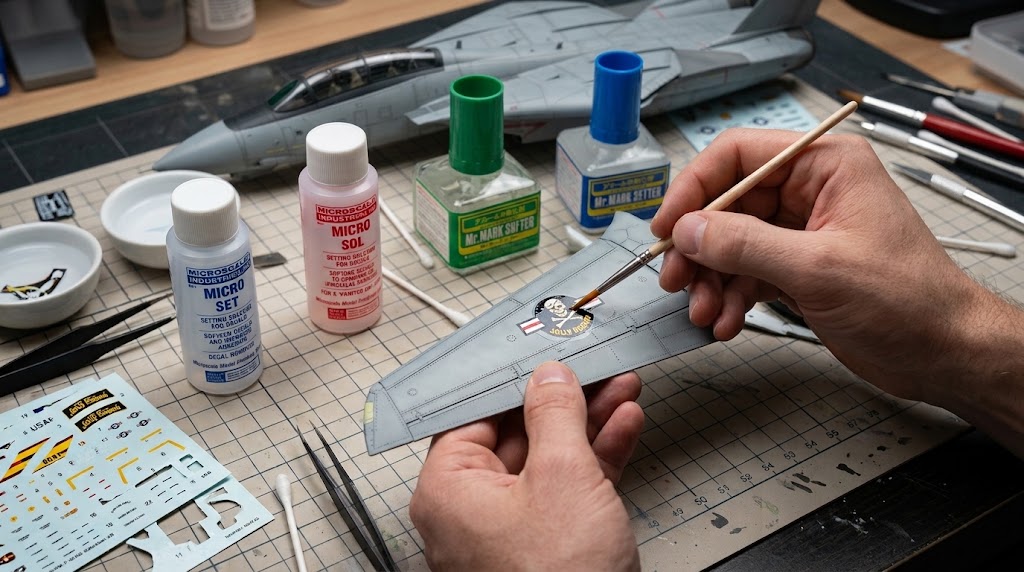
Nothing ruins forty hours of meticulous airbrushing faster than decal silvering—that dreaded frosty halo of microscopic air bubbles trapped beneath clear carrier film. Understanding the chemical difference in a Micro Set vs Micro Sol comparison (and knowing when to switch to stronger Japanese formulas like GSI Creos Mr. Mark Softer or Tamiya Mark Fit Strong) is the secret to making water-slide markings look painted directly onto the plastic.
Whether you are applying high-visibility squadron markings to the newly announced Tamiya 1/48 F-14B Tomcat (#61129) & Border 1/35 Leopard 2A8, laying down full carrier air wing sheets from our Featuring The Latest Double Excellent Models VF-31 “Tomcatters” Decal Release, or detailing a Real Grade Bandai Gundam, different decal printers use radically different lacquer and acrylic carrier films. Here is the exact 2026 chemical strength chart and step-by-step workflow to eliminate silvering forever.
⚡ Key Takeaways: Micro Set vs. Micro Sol & Decal Chemistry (2026)
- The “Blue Before Red” Sequence Rule: Always apply Micro Set (Blue Label – wetting & adhesion agent) to the model surface before sliding the decal into place, and apply Micro Sol (Red Label – solvent softener) on top of the positioned decal to melt it into recessed rivets.
- Why Japanese Decals Ignore Micro Sol: Thick box decals from Tamiya, Hasegawa, and Bandai use a heavier synthetic resin film than European Cartograf decals—requiring hotter solvents like GSI Creos Mr. Mark Softer or Tamiya Mark Fit Strong.
- Hands Off During Wrinkling: Within 3 minutes of applying Micro Sol or Mr. Mark Softer, the decal will wrinkle violently. Never touch a wrinkled decal—it pulls drum-tight and flat automatically as the solvent evaporates.
- The True Cause of Silvering: Silvering is not glue failure; it is microscopic air pockets trapped between rigid carrier film and rough matte paint hills. Always lay down a glass-smooth Gloss Clear Coat before decaling!
2026 Master Decal Setting & Softening Solutions Strength Chart
| Product Name | Workflow Role | Solvent Strength | Best Decal Brand Match | Check Price |
|---|---|---|---|---|
| Microscale Micro Set (Blue Bottle) | Step 1: Under-Decal Setter | 1/5 (Mild Acidic Surfactant) | Cartograf, Eduard, Techmod, TwoBobs | View on Amazon |
| Microscale Micro Sol (Red Bottle) | Step 2: Over-Decal Softener | 3/5 (Medium Film Melter) | Cartograf, Airfix, Revell, Games Workshop | View on Amazon |
| Mr. Hobby Mr. Mark Setter (Blue Cap) | Step 1: Adhesive + Softener | 2.5/5 (Contains Glue Resin) | Bandai Gunpla, Hasegawa, Fine Molds, Old Decals | View on Amazon |
| Mr. Hobby Mr. Mark Softer (Green Cap) | Step 2: Heavy-Duty Softener | 4/5 (High-Strength Solvent) | Thick Tamiya, Hasegawa, Bandai & Academy Decals | View on Amazon |
| Tamiya Mark Fit Strong / Super Strong | All-in-One Extreme Melter | 5/5 (Nuclear Strength) | 1/24 Carbon Fiber, Compound Curves & Thick Stripes | View on Amazon |
Micro Set vs. Micro Sol: What Each Bottle Actually Does
New builders constantly ask whether they need both bottles of the classic American Microscale duo, or which one goes on first. Think of them as a two-part chemical relay team:
1. Step One: Micro Set (Blue Label — “Set the Position”)
Formulated with a weak organic acid (giving it a distinctive vinegar scent) and wetting surfactants, Micro Set breaks the surface tension of water on your gloss coat. You brush it onto the plastic before sliding the decal off its paper backing. It softens the bottom adhesive layer slightly, gives you extra working time to nudge the marking into alignment, and flushes out trapped air pockets when you roll a damp cotton swab across the surface.
2. Step Two: Micro Sol (Red Label — “Solvent Melt”)
Once the decal is positioned and blotted dry, Micro Sol takes over. It is a true chemical plasticizer solvent that temporarily dissolves the clear lacquer carrier film, turning the decal into a liquid skin that stretches down into 0.15mm recessed panel lines and drapes tightly over raised dome rivets—such as the intricate stencil sets featured in our Babibi Models Unveils the Essential Upgrade: F-4E TUrAF Sea Camo Stencils and large-format airlifter liveries like Babibi Model Unleashes New “Pacific Skies 24” Decal Set for the Luftwaffe A400M Atlas.
Why You Also Need Mr. Mark Setter & Mr. Mark Softer on Your Bench
If you have ever applied three coats of red Micro Sol to a thick Tamiya wing walk line or a Bandai Gunpla caution decal and watched it sit stiffly across a panel trench like a wooden plank, you have encountered the East vs. West Decal Chemistry Gap:
-
Western & European Decals (Cartograf, Eduard, Microscale): Printed with ultra-thin, delicate lacquer carrier films. Micro Set and Micro Sol melt them effortlessly, whereas aggressive Japanese solvents can melt them too fast.
-
Japanese & Asian Kit Decals (Tamiya, Hasegawa, Bandai, Fine Molds): Printed with thicker, rubberized synthetic resin films designed to survive humid Asian summers without cracking. To make these conform over compound curves, you need GSI Creos Mr. Mark Setter (which contains milky liquid adhesive resin for low-tack Gunpla decals) and Mr. Mark Softer (or Tamiya Mark Fit Strong).
Top 5 Decal Setting Solutions & Tools Breakdown (Pros & Cons)
1. Microscale Micro Set & Micro Sol Combo Pack — The Gold Standard for Cartograf & Western Decals
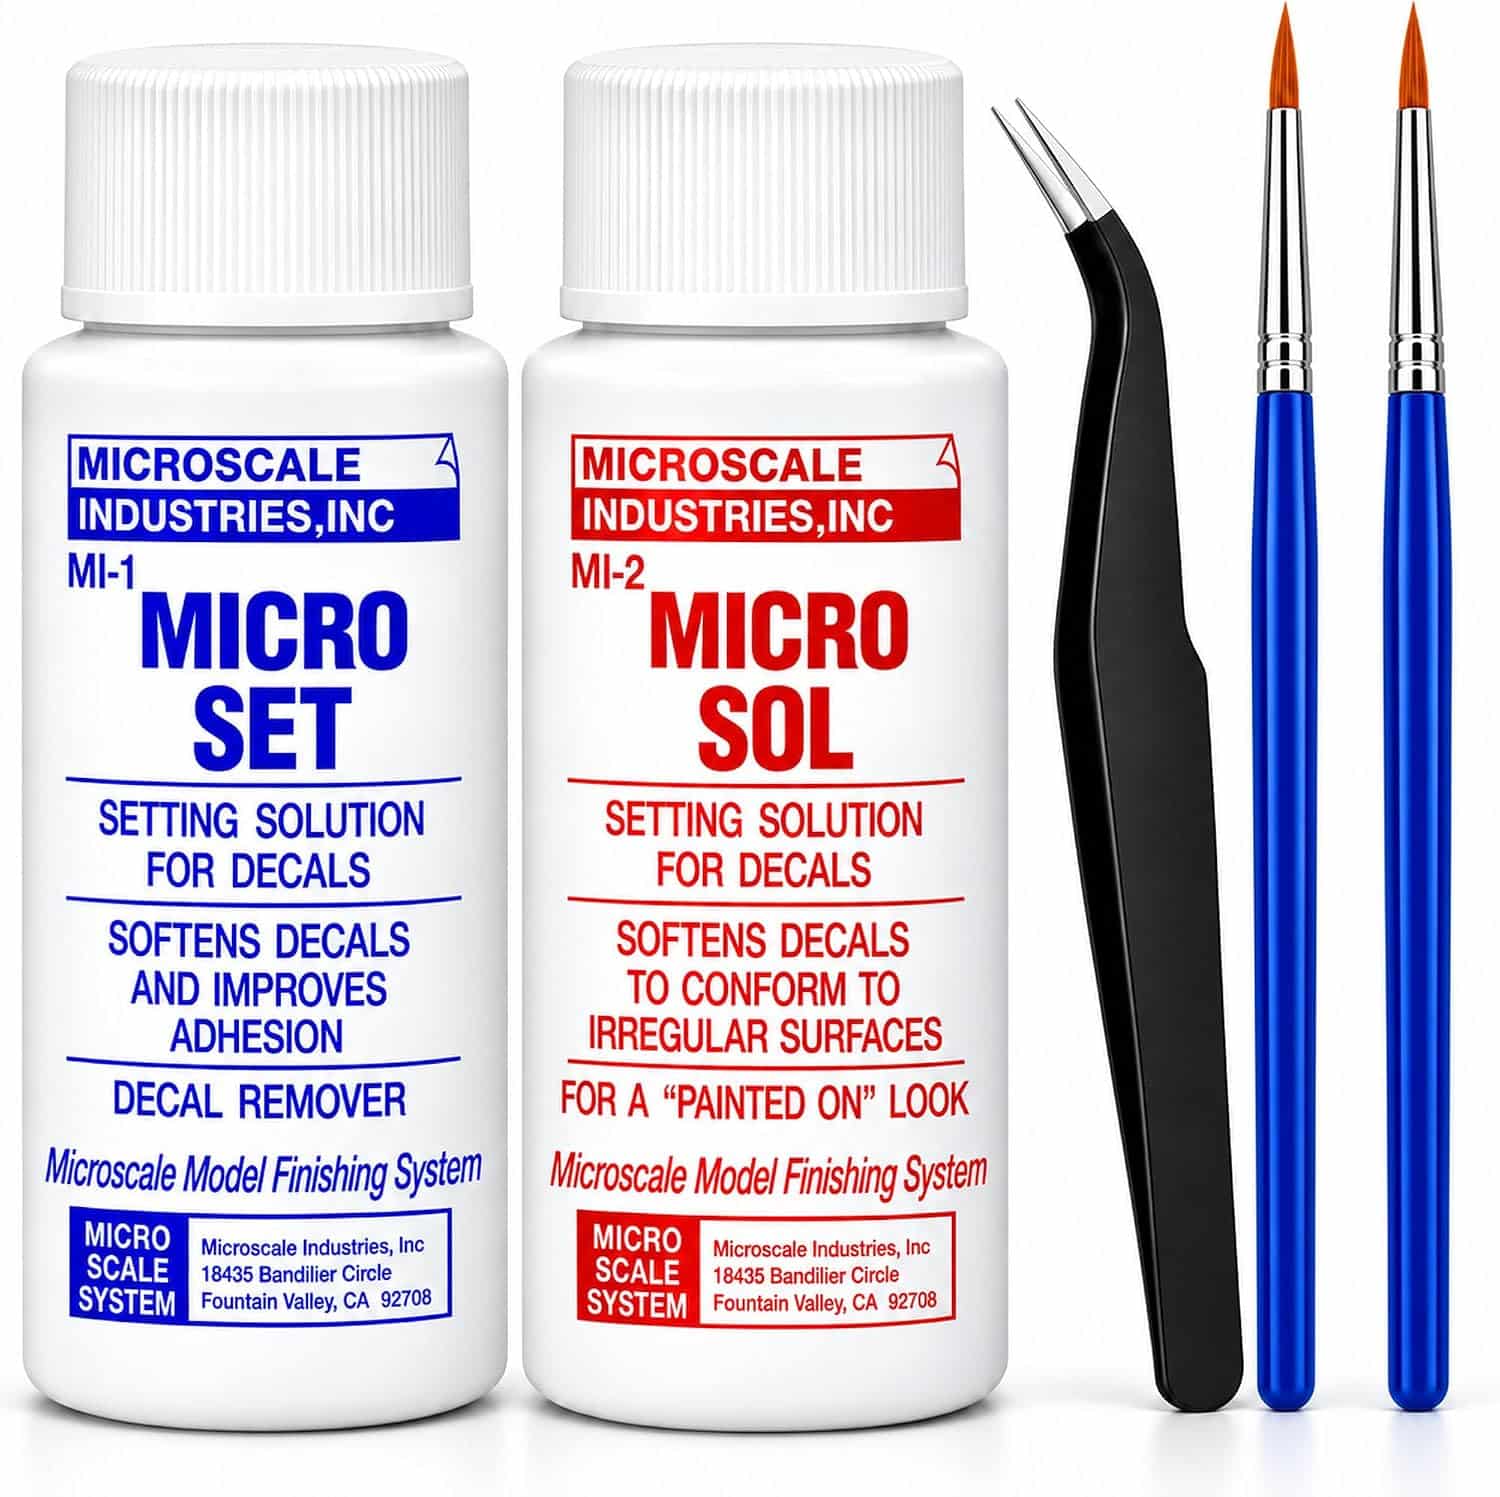
Found on virtually every scale modeling workbench for over four decades, the Microscale Micro Set and Micro Sol Twin Pack is engineered specifically for thin-film decals printed by Cartograf, Microscale, Furball Aero-Design, and Games Workshop. Because neither bottle contains aggressive lacquer thinners, they will never eat through cured water-based acrylic basecoats from our How to Thin Vallejo, Citadel & Tamiya Paints Guide.
✅ Pros for Scale Modelers:
- Gentle, predictable softening action won’t dissolve ultra-thin Cartograf or Warhammer transfers
- Completely safe over cured Vallejo, Citadel, and Tamiya acrylic gloss clear coats
- Ideal for Curved Space Marine shoulder pauldrons—pair with our Slapchop vs Zenithal Highlighting Guide
❌ Cons to Consider:
- Too mild to fully melt thick vintage Tamiya or Hasegawa box decals in a single pass
- Tall, narrow plastic bottles tip over easily unless placed in a foam workbench holder!
2. GSI Creos Mr. Mark Setter & Mr. Mark Softer Duo — Best for Bandai Gunpla, Tamiya & Hasegawa
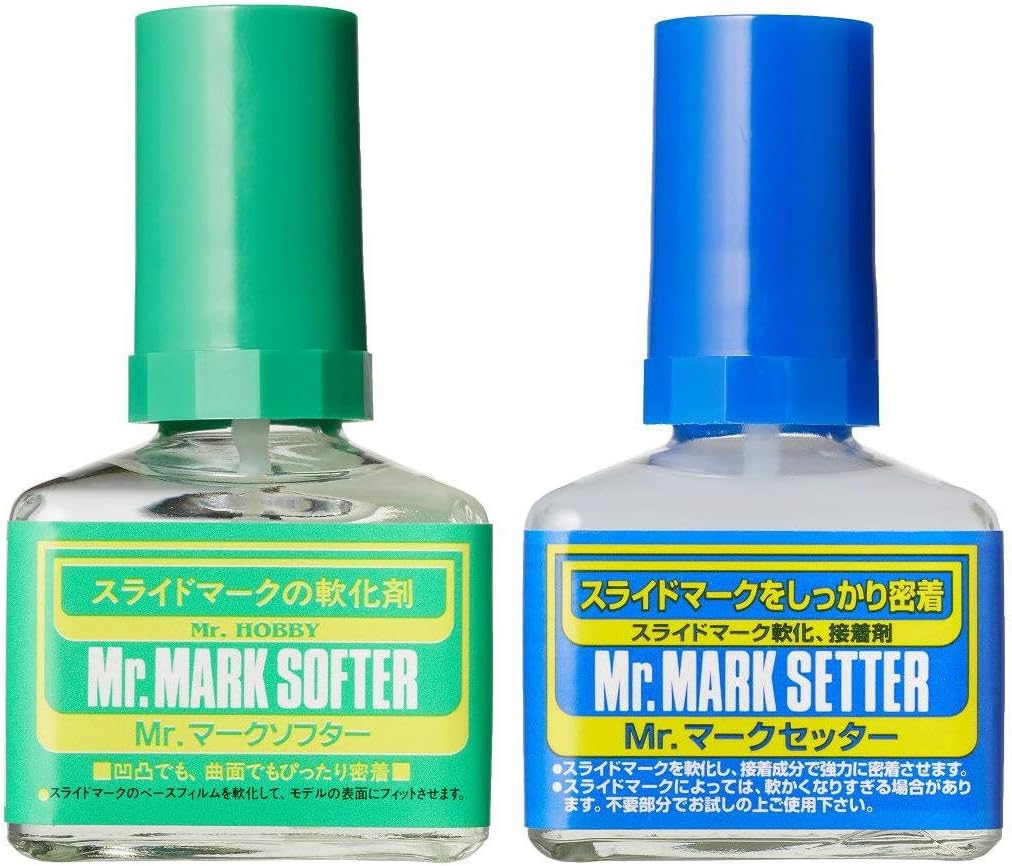
If you build Japanese kits—like the reveals from our All Japan Model & Hobby Show 2026 Roundup or Bandai’s water-slide Gunpla sheets—you need Mr. Mark Setter (Blue Cap) and Mr. Mark Softer (Green Cap). Unlike Micro Set, Mr. Mark Setter contains actual suspended acrylic adhesive resin (giving it a milky tint) that permanently glues down third-party Gunpla decals that otherwise flake off when dry.
✅ Pros for Scale Modelers:
- Added adhesive resin inside Mr. Mark Setter saves old, low-tack decals from silvering or peeling
- Mr. Mark Softer melts stubborn Tamiya, Hasegawa, and Fine Molds decals seamlessly into rivets
- Heavy, tip-proof square glass bottles with built-in applicator brushes in the caps
❌ Cons to Consider:
- Do not leave puddles of Mr. Mark Softer sitting on unvarnished water-based acrylic paint (it can leave tide marks)
- Always shake Mr. Mark Setter before use so the milky adhesive resin mixes evenly
3. Tamiya Mark Fit (Strong & Super Strong) — The Nuclear Option for Carbon Fiber & Deep Louvers
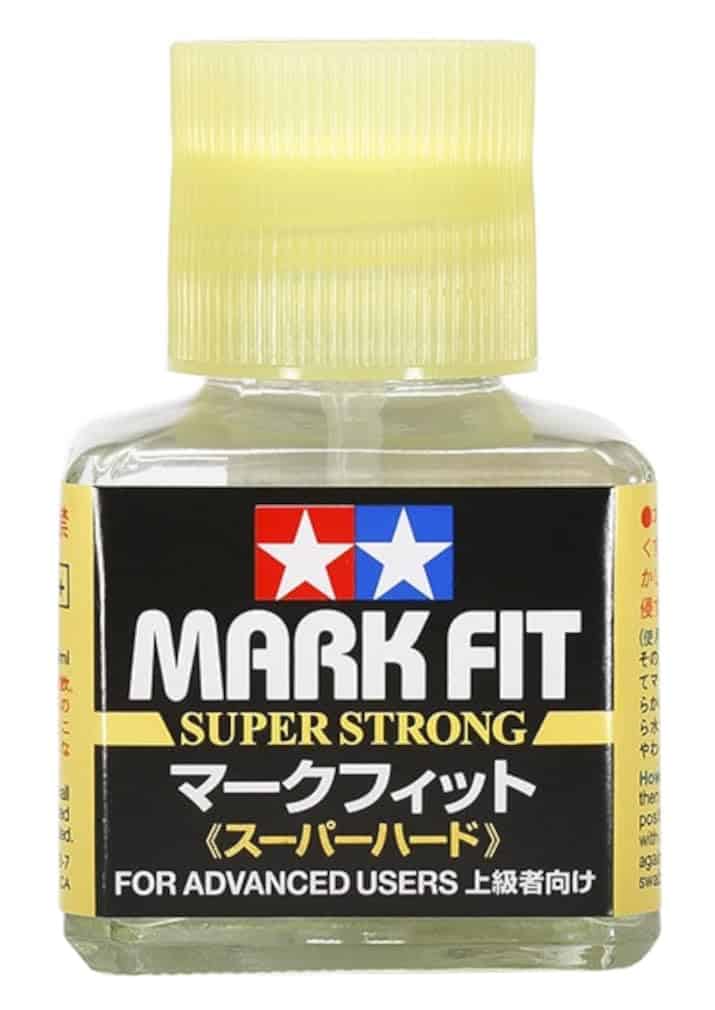
When you are wrapping stiff carbon-fiber weave decals around a 1/24 supercar splitter, or forcing a thick tactical cross down into the corrugated turret basket of a 1/35 tank, standard softeners aren’t enough. Tamiya Mark Fit Strong (and Super Strong) combines wetting adhesive and high-powered plasticizer in a single bottle that physically shrinks thick decals over impossible 90-degree edges.
✅ Pros for Scale Modelers:
- Single-bottle workflow acts as both under-decal adhesive and over-decal super-softener
- Pulls thick Tamiya racing stripes and 1/35 armor markings tight over raised bolts and hinges
- Eliminates carrier film step edges prior to final clear coating
❌ Cons to Consider:
- “Super Strong” is extremely hot—test on a spare scrap decal first before using on thin European sheets!
- Best used over a cured lacquer clear coat (like Tamiya LP-9 or Mr. Super Clear Gloss)
4. Microscale Liquid Decal Film — Rescuing Cracked Vintage Stash Decals
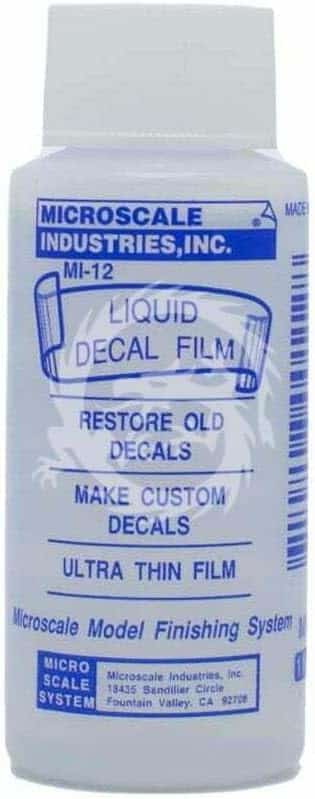
Ever dipped a vintage 1990s kit decal into warm water, only to watch it shatter into fifty microscopic puzzle pieces? Over decades in a closet stash, clear carrier film oxidizes and turns brittle. Brushing a thin layer of Microscale Liquid Decal Film directly over the decal sheet and letting it dry for 20 minutes creates a brand-new, flexible clear membrane that holds old markings together.
✅ Pros for Scale Modelers:
- Saves rare out-of-production squadron markings and vintage kit sheets from disintegrating
- Self-levels with a flat soft brush in 15 minutes with zero yellowing
- Also used for sealing custom inkjet-printed homemade decals
❌ Cons to Consider:
- Because it coats the entire sheet, you must trim closely around each individual marking with a hobby knife before soaking
- Clean your brush immediately with Isopropyl Alcohol after application
5. Tamiya Curved Decal Scissors & Flat Spade Tweezers — Zero-Tear Handling Precision
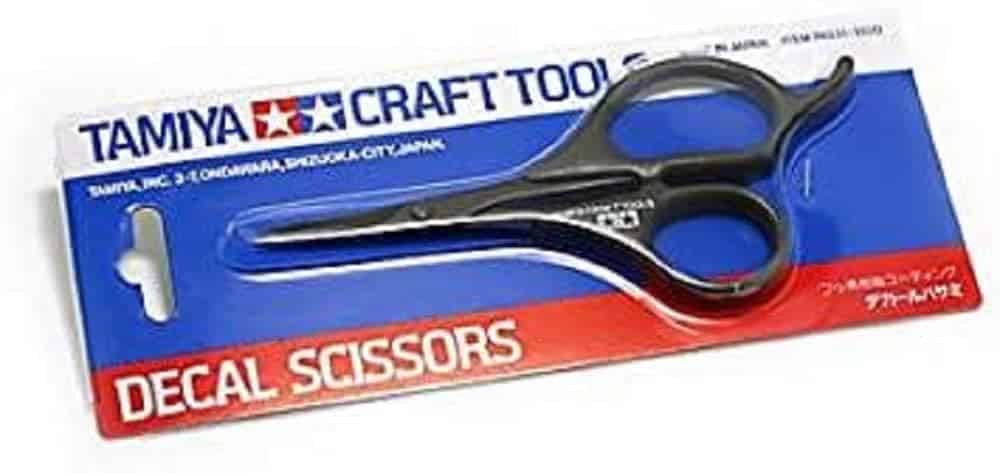
Using needle-nose photo-etch tweezers to grab a wet decal is the fastest way to rip a fuselage stripe in half. Tamiya’s Dedicated Decal Tweezers (#74052) feature smooth, rounded spade tips that hold the paper backing firmly while you slide the decal onto the model with a wet brush, and double as a folding tool when wrapping markings around thin missile fins.
✅ Pros for Scale Modelers:
- Blunt, polished spade tips physically cannot puncture or tear softened water-slide decals
- Ergonomic spring tension prevents hand fatigue during 200-stencil modern jet sessions
- Built-in rear slot acts as a desktop stand for holding drying sub-assemblies
❌ Cons to Consider:
- Designed strictly for decals and masking tape—keep a separate sharp pair for 1/700 photo-etch
- Wipe off Mr. Mark Setter glue residue after each session to keep the blades smooth
Emergency Fix: How to Cure a Decal That Already Silvered!
What if you wake up the next morning, look at your 1/48 fighter wing or 1/35 tank turret, and spot a frosty silver bubble trapped underneath a dried decal? Do not rip the decal off! Use this 3-step surgical rescue:
-
The Acupuncture Pin-Prick: Take a brand-new #11 hobby scalpel blade or a fine sewing needle and gently prick 4 to 6 microscopic holes (or slice strictly along the recessed panel line) directly inside the silvered silver bubble. Do not drag the blade sideways.
-
Capillary Softener Flood: Brush a generous drop of Micro Sol or Mr. Mark Softer directly over the pinholes. Capillary action will pull the solvent underneath the decal through the microscopic punctures, melting the rigid film down onto the paint.
-
The Gloss Clear “Refractive Index” Trick: Once the softener dries completely (wait 6 hours), airbrush a localized coat of Mr. Super Clear Gloss or Tamiya X-22 Clear thinned with Mr. Color Leveling Thinner over the decal, followed by your final matte/satin topcoat. The liquid gloss clear seeps into any remaining sub-micron voids and matches the optical refractive index of the carrier film, making the silvering vanish before your eyes!
(Note: Once your decals are sealed under a protective clear coat, you are ready to accentuate the recessed panel lines running through the markings—follow our step-by-step chemistry rules in How to Panel Line Gunpla & Scale Models Without Cracking Plastic (2026 Guide) and our Tamiya Panel Line vs Ink Wash – Which One’s Best for Model Kits? showdown!)
🛠️ Essential Zero-Silvering Decal Workbench Kit
Want to apply 150 tiny jet stencils in half the time without waiting for bowl water to go cold or fighting lint fibers? Upgrade your decal station with these four pro tools:
- 🔹 No More Cold Water Bowls: Trumpeter / DSPIAE Decal Water Moisturizing Box with Sponge — Hydrates 20 decals at once from below without washing away the water-soluble glue on the backing paper!
- 🔹 Lint-Free Decal Rolling: Tamiya Craft Cotton Swabs (Round & Triangular – 50pc) — Tightly spun medical-grade cotton rolls trapped Micro Set and air bubbles out from under decals without leaving fuzz.
- 🔹 The Ultimate Pre-Decal Gloss Shield: Mr. Hobby Mr. Super Clear Gloss Spray (B513) — Creates the mirror-smooth foundation required to prevent air pockets under decals.
- 🔹 Erase Carrier Film Edges (“Painted-On” Look): GodHand Kamiyasu 6000–10000 Grit Micro Sanding Sponges — Gently wet-buff over cured gloss-sealed decals to completely eliminate the raised step edge of the carrier film.
Frequently Asked Questions (FAQ)
Which goes on first: Micro Set or Micro Sol?
Always follow the “Blue Before Red” alphabetical rule (Set comes before Sol in the dictionary): brush Micro Set (Blue Bottle) onto the glossy painted surface first to position and adhere the decal, blot away excess water, and then brush Micro Sol (Red Bottle) on top of the decal to melt it into the surface details.
Why did Micro Sol or Mr. Mark Softer leave a white milky stain on my acrylic gloss coat?
A milky white blush happens when acidic decal solutions react with an uncured water-based acrylic varnish (like Vallejo Gloss Varnish or Pledge/Future floor polish) that was sprayed less than 24 hours ago. Don’t panic—do not sand it! Once the decal dries overnight, simply mist one light coat of gloss or matte varnish over the spot, or touch it with a tiny drop of Flow Improver, and the trapped moisture haze will turn crystal clear again.
Can I peel away the clear carrier film on modern Eduard decals using Micro Sol?
Yes! Post-2020 Eduard kit decals feature a special peelable top carrier film. Apply the decal normally using Micro Set and Micro Sol, let it dry completely for 12 to 24 hours, and then gently lift the corner of the transparent top layer using mineral spirits on a cotton swab or a piece of low-tack masking tape—leaving only pure printed ink on the model with zero carrier film!
