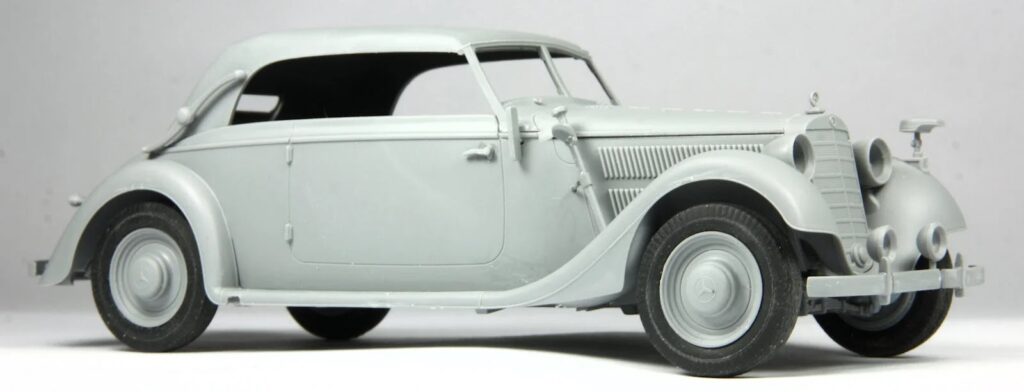
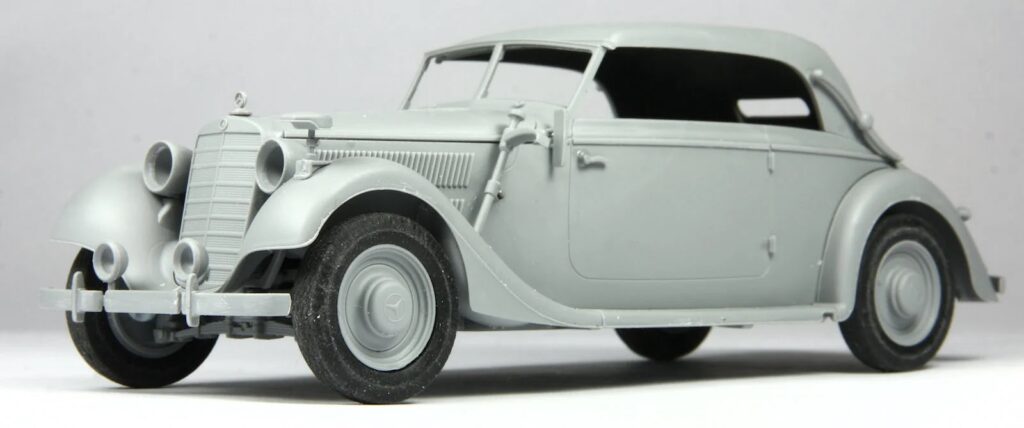
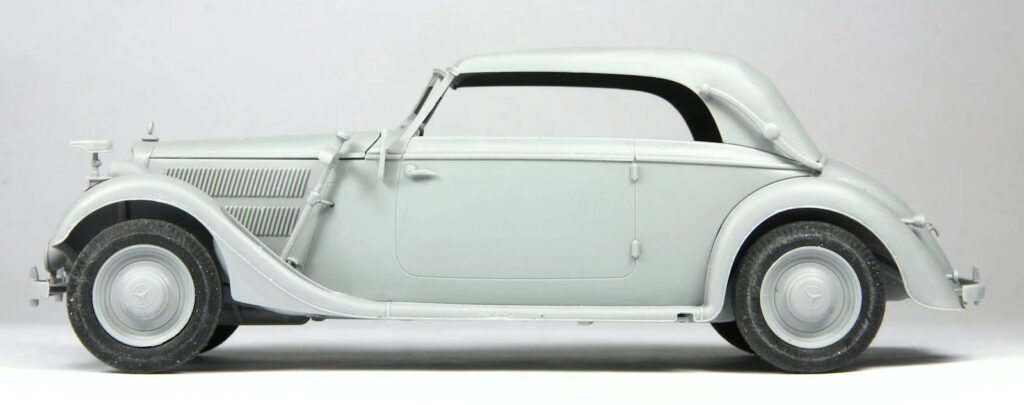
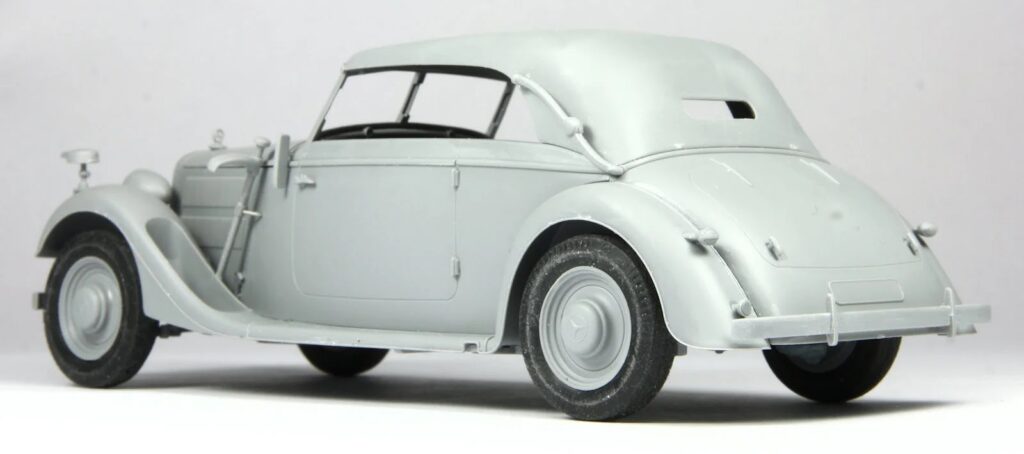
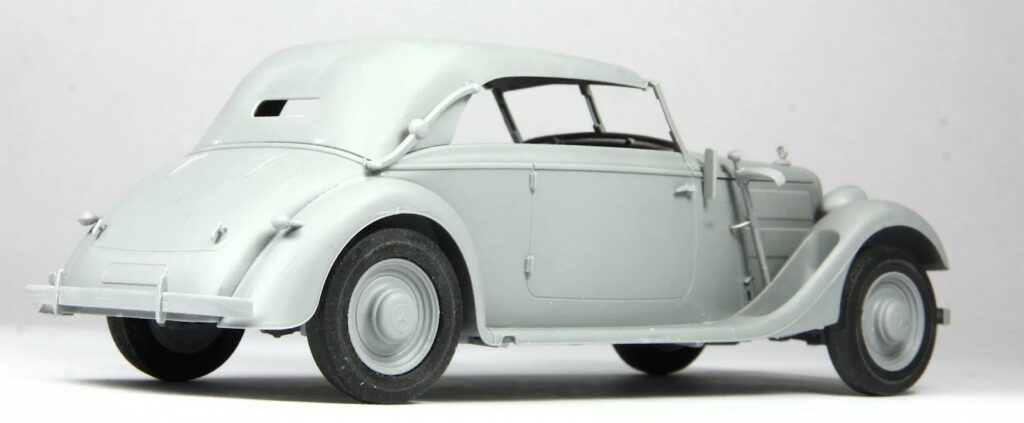
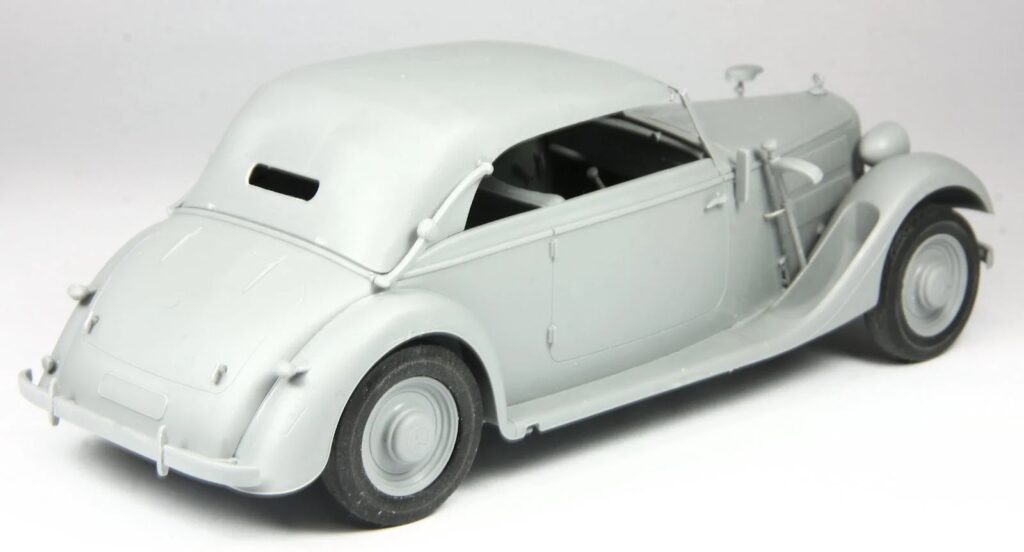
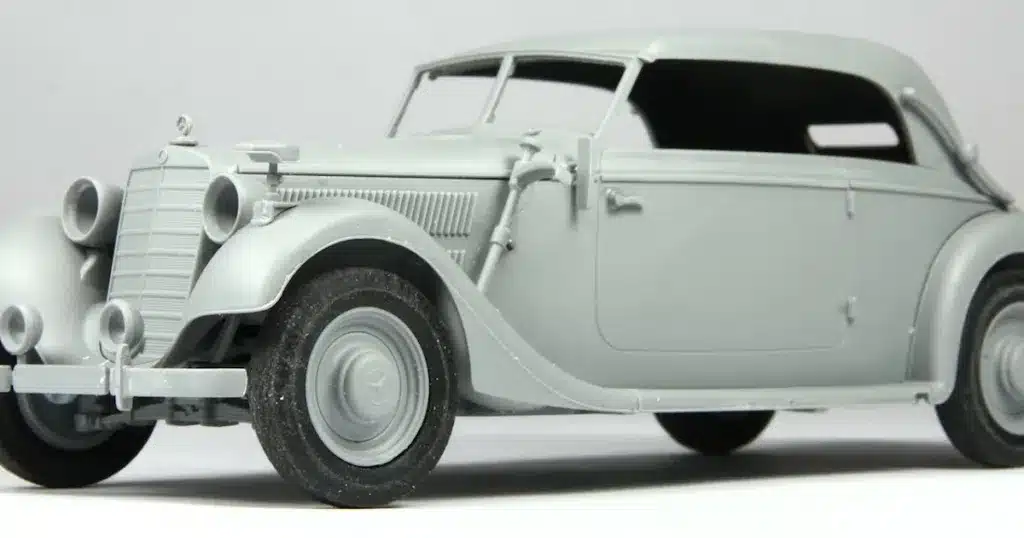
Model builder Andy King is diving into the assembly of the ICM Mercedes Typ 320 (W142) Soft Top in 1/35th scale. Stay tuned for his next article, which will delve into the painting and weathering techniques he uses to bring this model to life!
This kit of the Mercedes Typ 320 first appeared in ICM’s catalogue around 2016 and has seen a couple of outings before ending up with this particular version. The The Bonus!
Markings in the box:
-Typ 320 (W142) Cabriolet, France, 1940
Model-Typ 320 (W142) Cabriolet, unknown Luftwaffe unit, 1940
-Typ 320 (W142) Cabriolet, Eastern Front, 1943
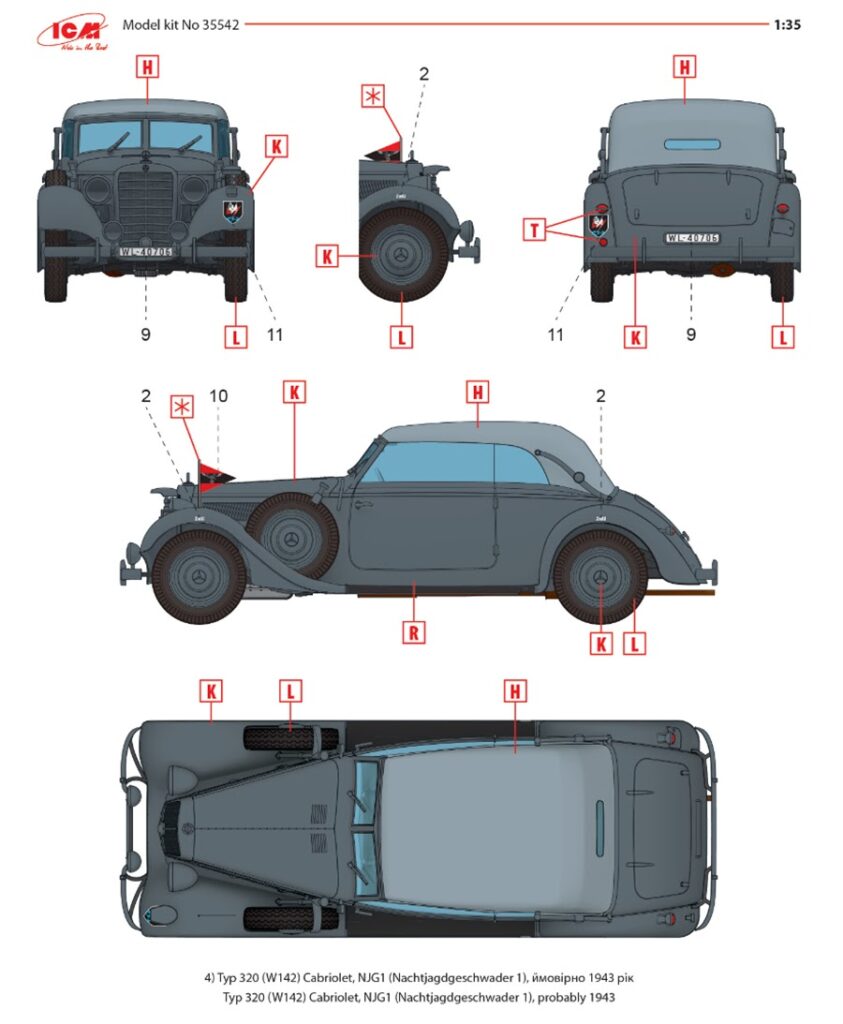
-Typ 320 (W142) Cabriolet, NJG1 (Nachtjagdgeschwader 1), probably 1943
The scheme I will be reproducing in this build…
The Build:
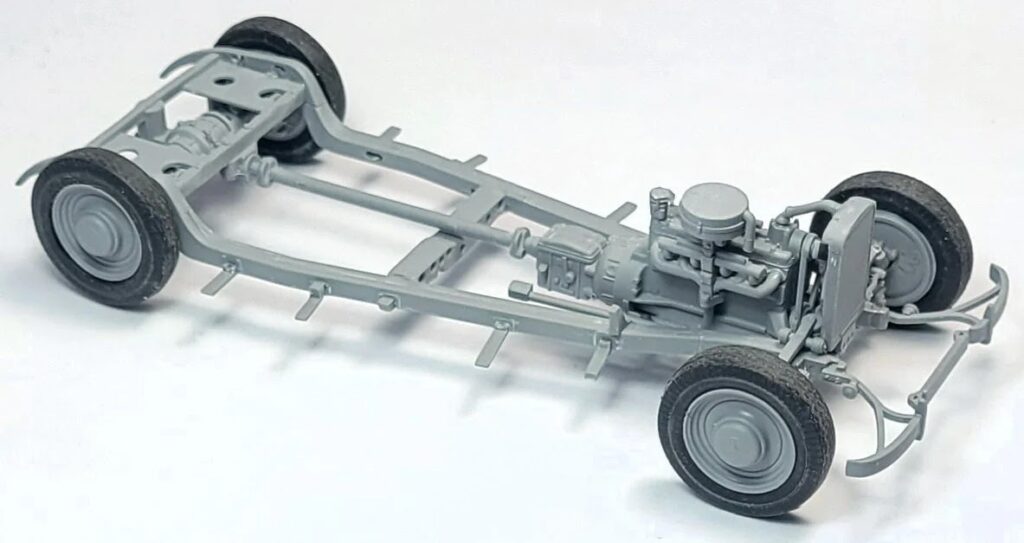
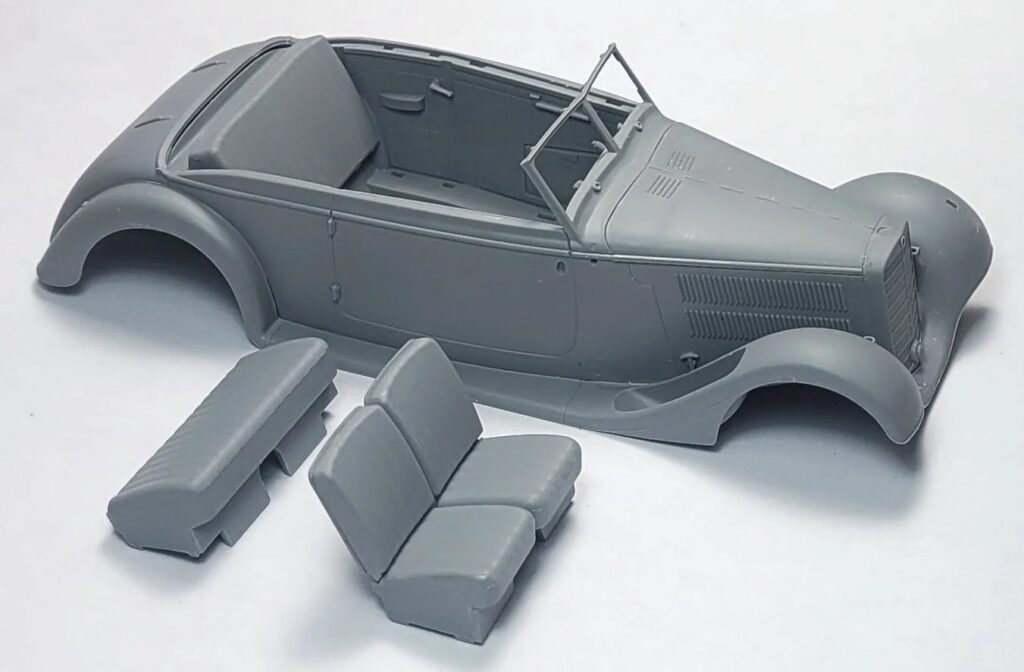
Diving right in with the build, it begins with the engine which is quite detailed but unless you are going to chop open the bonnet cover (or hood) then it’s all rather wasted as the bonnet is moulded closed and you won’t see anything of the engine. The The chassis rails themselves are in two halves and when glued together they do feature very prominent join lines and although these will be hidden, I ended up filling them especially the ones that would be visible from the rear wheel arches.
Assembly of the chassis was actually pretty straightforward although I did drill out the locating holes for part E14 as the fit was quite tight.
The only bit that wasn’t clear was the proper location of part A54 at the front of the chassis;
The chassis and part A54…..
…..and where part A54 actually fits.
The rest of the chassis assembly was pretty good with only the locating holes for parts A35 and A36 requiring drilling out to obtain a good fit, however the sides of the fuel tank featured a nasty join line with some shrinking so doing one side at a time I flooded them with superglue and accelerator and when set sanded them back.
With the fuel tank done the engine was glued into place and the chassis was complete.
I’m not a fan of vinyl tyres and the ones supplied in the kit looked a bit gnarly with the mould seams around the circumference of each tyre plus the flash.
MiniArt 1/35 Scale Liefer Pritschenwagen Typ 170V Farmer Car


.webp.jpeg)
.webp.jpeg)
.webp.jpeg)


