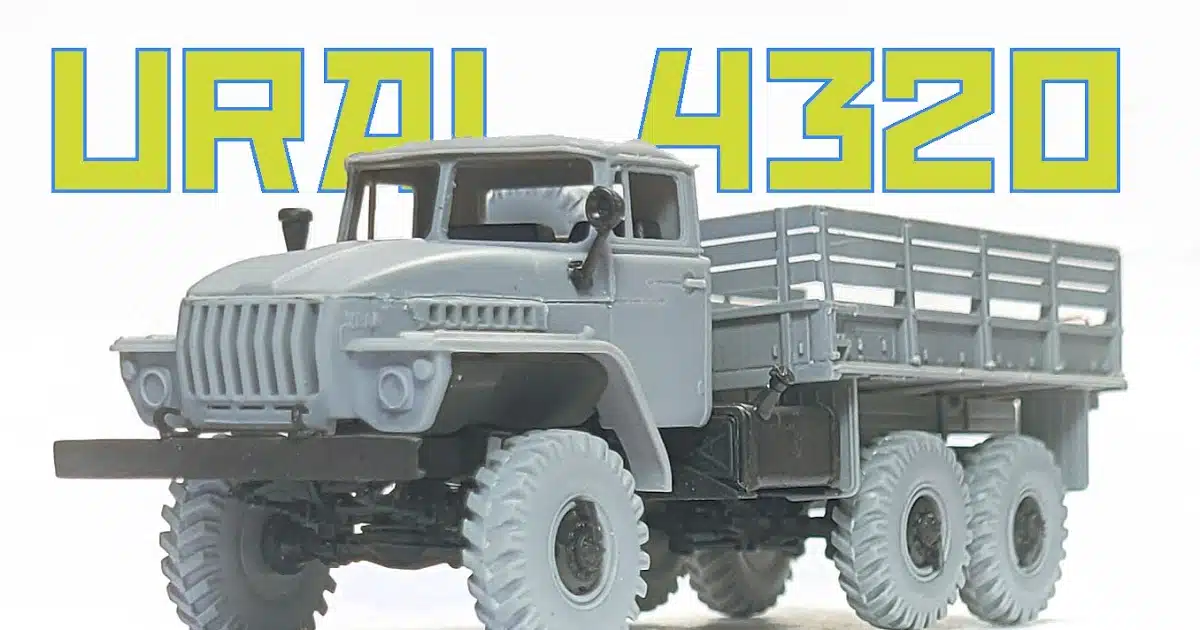
ICM Pt I: URAL-4320
See See how this 72nd scale truck from ICM goes together in Pt.I of his build….

From ICM Holding
1/72nd scale
Kit Number: 72708
Length 105mm kh Height: 38mm
ModelThe Subject:
.webp)
The 6×6 Ural-4320 army truck was designed to transport cargo, people and towing trailers on all types of roads. The The It The Ural-4320 is widely used by various branches of the Armed Forces of Ukraine to solve a wide range of tasks.
Ukrainian Ural 4320 with non-standard pixel camouflage.
The Kit:
.webp)
Recently received for review direct from ICM is their 1/72 URAL-4320 6×6 truck. This The For such a small scale you would have thought that it would be fairly easy to put together, however it wasn’t as straightforward as I first thought so read on and I’ll show the pitfalls and fixes.
Starting with the chassis and although this is a one-piece item, there are quite a few parts to attach but with the vague instructions the placement of some parts became an educated guess. You The The These parts are struts that attach to the axles but after looking at reference pictures of a URAL 4320 these struts are too short so these were cut off and new ones made from plastic rod.
Before….
.webp)
…and after. The The Thankfully my educated guesses paid off as I was able to fit all the propeller shafts without either extending or cutting them.

The chassis was almost complete at this stage with the spare wheel holder glued into place although during clean-up I managed to cut out the bar between the two tyre supports so a new one was made from a strip of plastic sheet.
.webp)
Finally I replaced part A37 with a new one cut from plastic rod as the original piece was too short, the exhaust was glued into place, the end drilled out and that was the chassis built.
.webp)
The placement of the hydraulic cylinder on the right chassis rail is again measured from the front at 29mm and you are pretty safe to glue it there.
With the chassis complete the cab is the next thing to assemble and this needed some clean up before gluing any bits to it as the flash on it would have interfered with the fit of some parts. It The The The The tailgate needs the moulded on detail for the latches removing otherwise it won’t fit into place properly.
.webp)
On my example the sides of the tailgate needed sanding until it fitted, after which new latches were made from copper wire.
.webp)
To see what it looks like, the model was loosely assembled for the glamour shots, after which it was broken down into sub-assemblies before painting.Apart from a couple of mix-ups in the instructions and not so clear placement of some parts, it’s not a bad little model really and with some new wheels and etched parts, these would make it stand out that bit more but for what you get in the box it’s pretty good, you just need to take care and dry fit a lot.
.webp)
The marking choice supplied in the box – in part II to come soon…
.webp)
Andy King
.webp)
Part 2 of this build review
.webp)
will cover the finishing and although it’s overall green, it will be interesting to see how the digital camo scheme will work using the supplied decal sheet.
.webp)
Thank you to
.webp)
for supplying the kit to build for you all…
.webp)
ICM March New Model kits!