How do you make slimy dirty effect?
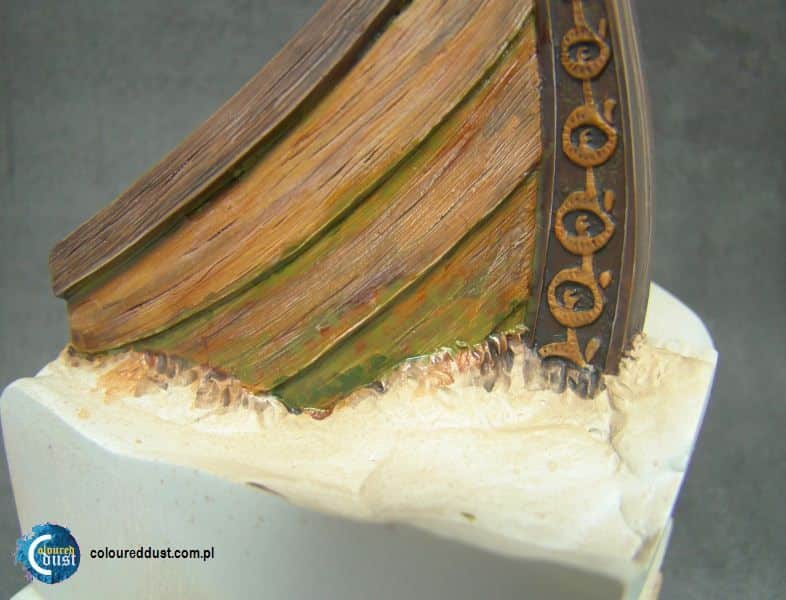
While there isn’t a single product specifically designed for a “slimy dirt” effect, you can achieve this look on your model kit by combining different techniques and materials. Here are two approaches you can try:
Option 1: Using Gloss Varnish and Pigments
Materials:
- Gloss varnish: This creates a wet, shiny appearance for the “slime.”
- Acrylic paints: Brown, green, and black are good choices for creating a dirty, muddy base.
- Pigments: Brown, green, and yellow earth tones work well to add texture and depth.
- Fine-tipped brush
- Flat brush (soft bristles)
- Water cup
- Cotton swabs (optional)
Steps:
- Paint the base area where you want the “slimy dirt” effect with a mix of brown, green, and black acrylic paints. Create a somewhat uneven texture to mimic the irregularities of dirt. Let it dry completely.
- Apply a thin layer of gloss varnish over the painted area. This will create the base for the “slime” effect.
- While the varnish is still slightly wet, use a fine-tipped brush dipped in a mixture of water and brown, green, and yellow pigments to create streaks and splatter marks. The water will help the pigments adhere to the varnish and create a slightly “runny” look.
- Use a damp cotton swab to gently blend the pigments and soften any harsh lines, creating a more natural flow and texture.
- Let everything dry completely.
Option 2: Using Modeling Gel and Powders
Materials:
- Modeling gel: This creates a thick, viscous texture for the “slime.”
- Acrylic paints: Brown, green, and black (similar to option 1).
- Weathering powders: Brown, green, and yellow earth tones (similar to option 1).
- Palette knife
- Fine-tipped brush
- Water cup
Steps:
- Mix a small amount of brown, green, and black acrylic paints on a palette to create a dirty, muddy base color.
- Apply the paint mixture to the desired area on your model and let it dry completely.
- Apply a thin layer of modeling gel over the painted area. While the gel is still wet, use a palette knife to create small peaks and uneven surfaces, mimicking the texture of slimy dirt.
- Sprinkle weathering powders of various brown, green, and yellow tones onto the wet modeling gel. Use a brush to gently press the powders into the gel to create a good adhesion.
- Use a damp brush to manipulate and blend the powders, creating streaks and a slightly “runny” effect. Be careful not to over-blend and lose the textured look.
- Let everything dry completely.
Additional Tips:
- Experiment with different ratios of water and pigments/powders to achieve the desired level of translucency and texture.
- You can use a combination of both options, using the gloss varnish and pigments for a smoother slime effect, and the modeling gel and powders for a thicker, muddier look.
- Practice on a scrap piece of plastic or a spare model part before applying these techniques to your actual model.
- Always work in a well-ventilated area and wear gloves if using any solvents or chemicals.
Remember, patience and practice are key to achieving a realistic and visually appealing “slimy dirt” effect on your model kit.
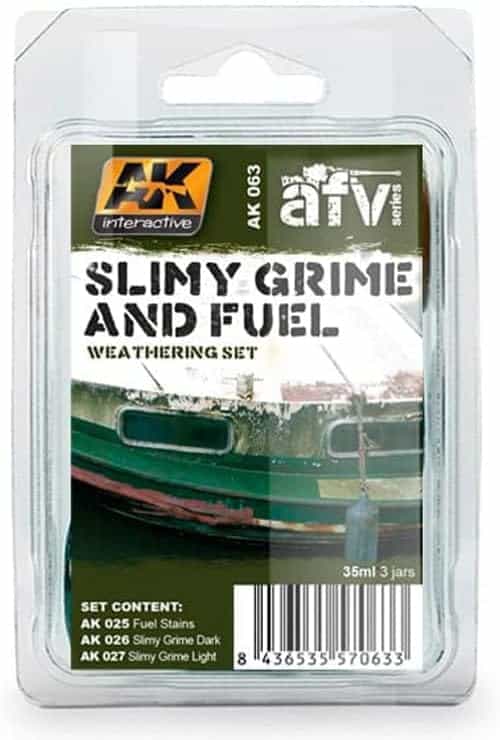
-40% $13.14 Slimy Grime & Fuel Stains Enamel Paint Set (25, 26, 27) AK Interactive