How to get started with diecast painting – a beginner’s guide. How to Paint Over a Diecast Car.
Do you have a Diecast car that you want to repaint or from Scratch? Let’s find out how in 12 steps.
10 BEST Advanced Model Car Kits
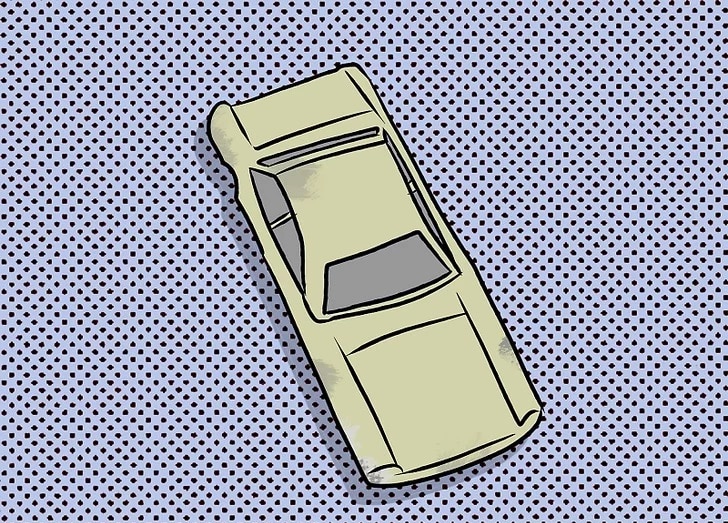
1- Start disassembling the cart and separate all the parts until only one metal shell remains.
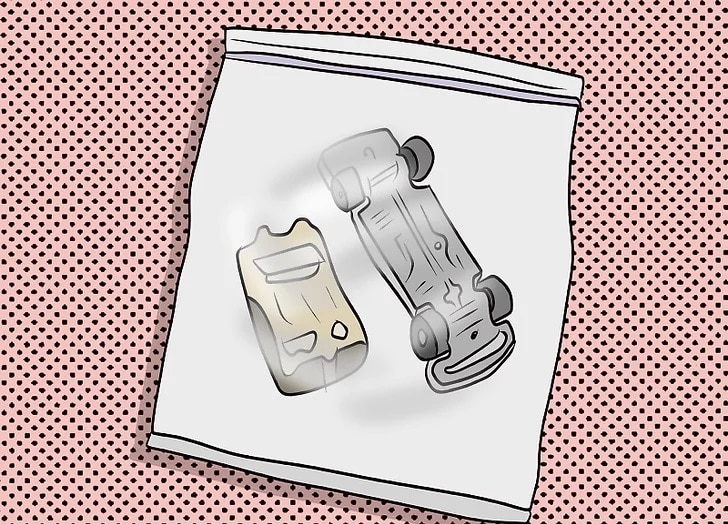
2- During this process, all coatings, interior parts, etc. to ensure safety and not lose parts. Put it in a sealed sandwich bag.
3- You can overpower the existing paint with new paint, but we can guarantee that you will get much better results if you remove the existing paint.
What types of model kits are there?
How to remove paint from diecast cars?
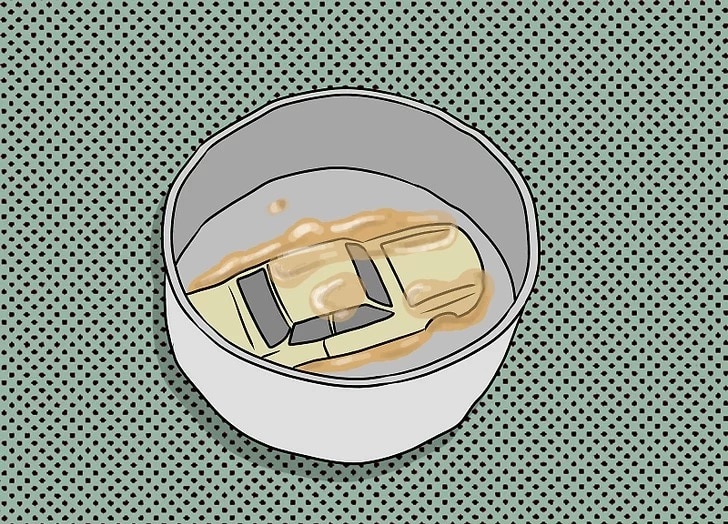
This is because the factory paint is thick and uneven. Spraying on can cause loss of detail or uneven gaps or thickness. So how do we remove old paint? It’s easier than it looks. Put some brake fluid in a bucket and then put the car body in it. It takes a day or two, but the brake fluid removes the paint. (You may need to hit some areas with an old toothbrush or other brush, do not use anything to scratch the metal.) [1]
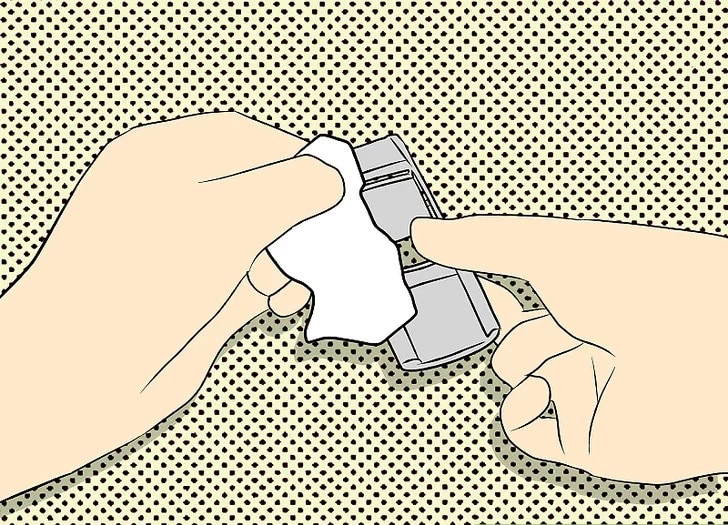
4- After all, the paint has been removed from the body, wash and dry the body to remove brake fluid.
(You may want to reuse the brush in off-road places.) [2]
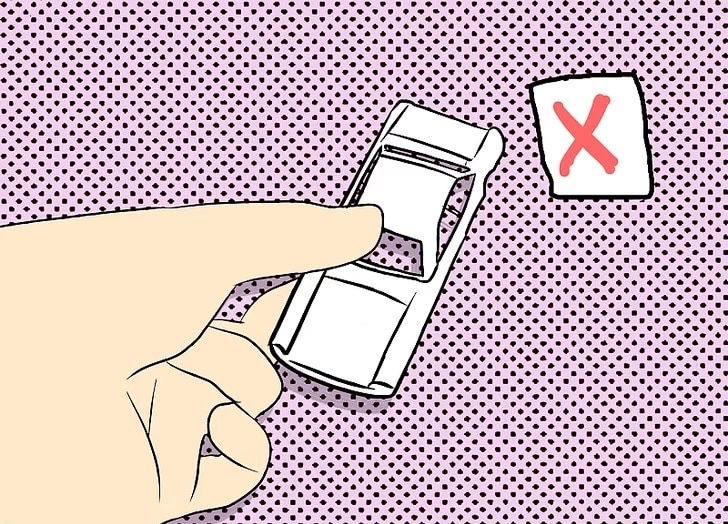
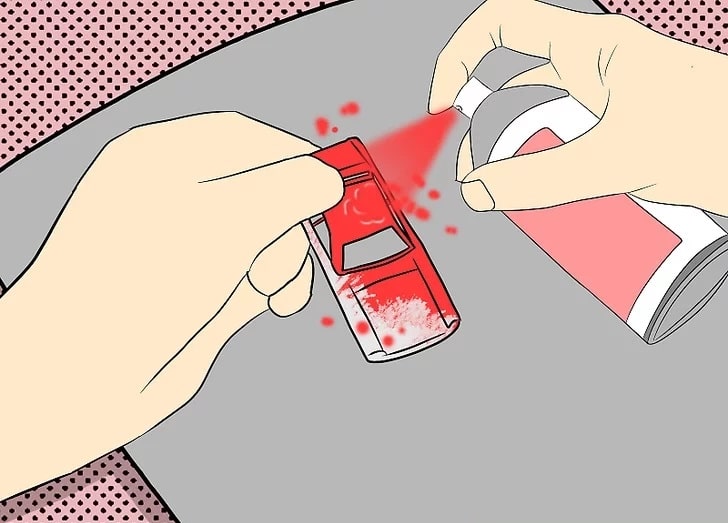
5- Try not to touch the body before and between coats of paint, as oils from your skin, can affect the paint.
Therefore, it is essential to use plastic gloves during the painting stages. (A bent coat hanger can be used to hold the Diecast Body, or there may be suitable painting stands, so the paint can be easily removed without touching it.)
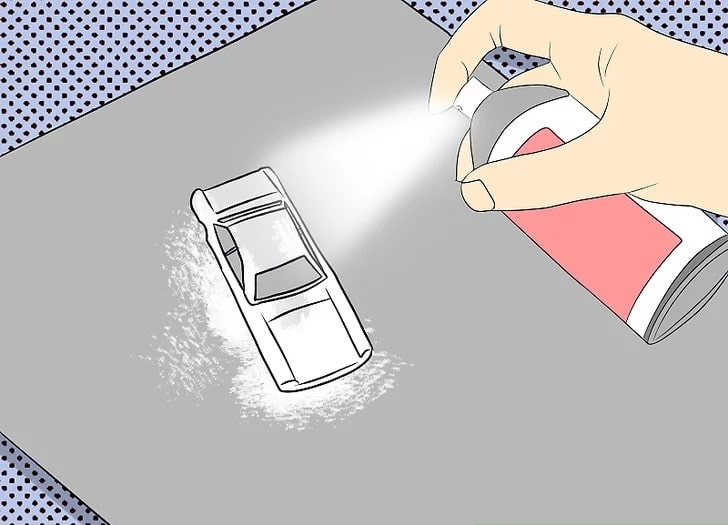
6- You can use any brand of spray paint to repaint your Diecast Car, but you should prime it with a primer before painting.
Most of the undercoat colors are light gray. Almost any type of spray paint will work, but make sure your primer and finish the color match! (For example, you want to use enamel for both primer and topcoat, etc.) [3]
7- Be sure to shake the spray can well before starting the painting process.
How to paint diecast cars?
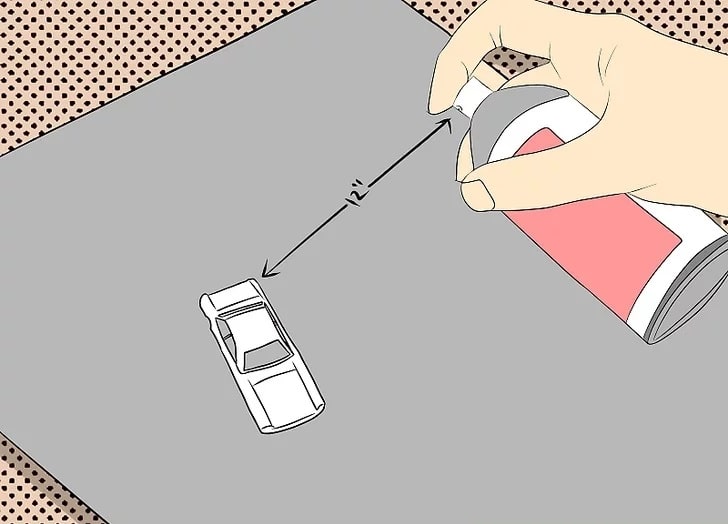
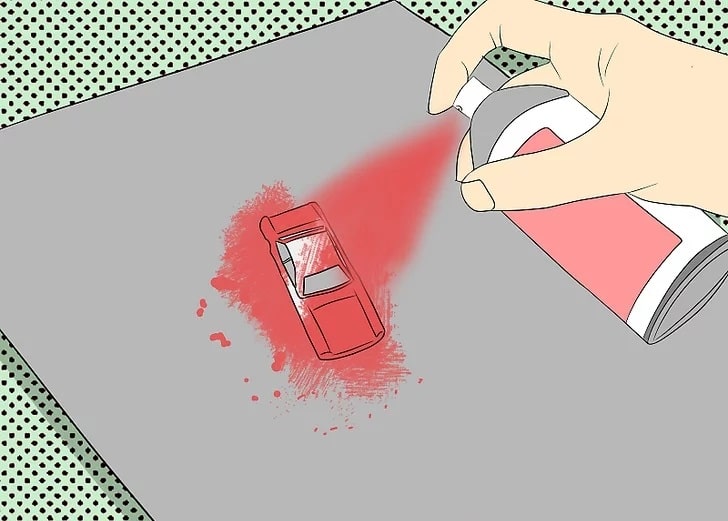
Hold the spray paint can about 12 inches or 30 cm away. [4]
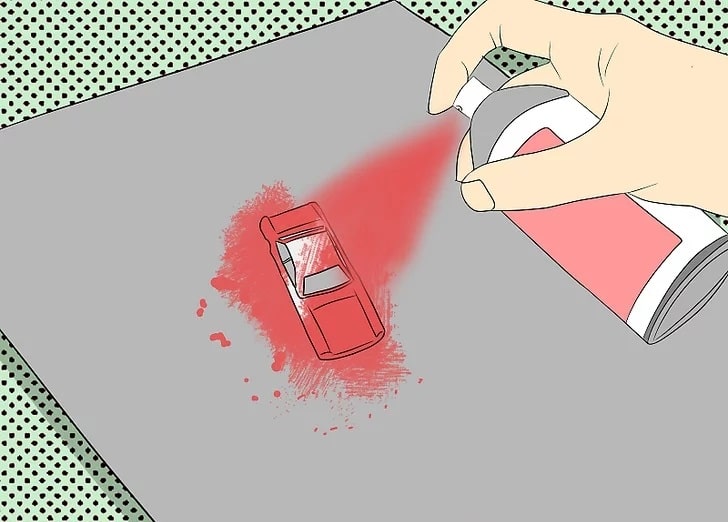
8- Start painting by spraying the front of the diecast body.
Then move to the side with a gentle sweeping motion. Note Move-in 1 side direction. [5]
9- Do does not concentrate the paint on a single spot, as this will result in streaks and paint that is too thick and spoil the details on the body.
For this reason, we keep the spray paint 30 cm away.
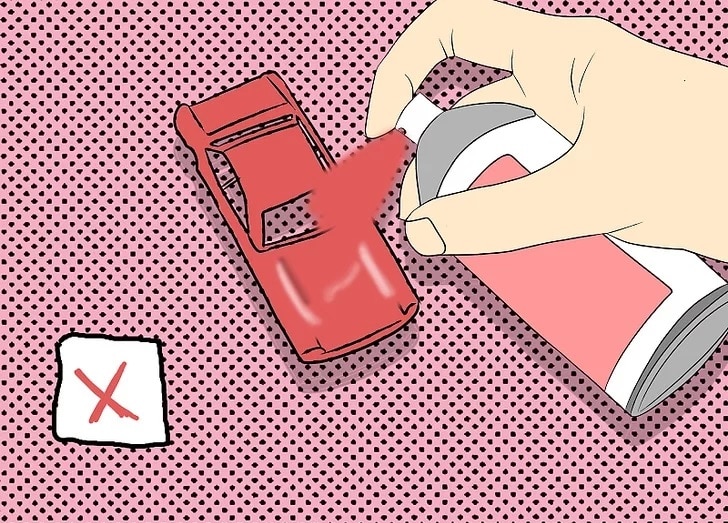
10- Direct spray paint on the body and spraying will cause the paint to spatter and good paintwork will not come out.
So you should start at the front of the torso and go backward with a gentle sideways sweeping motion.
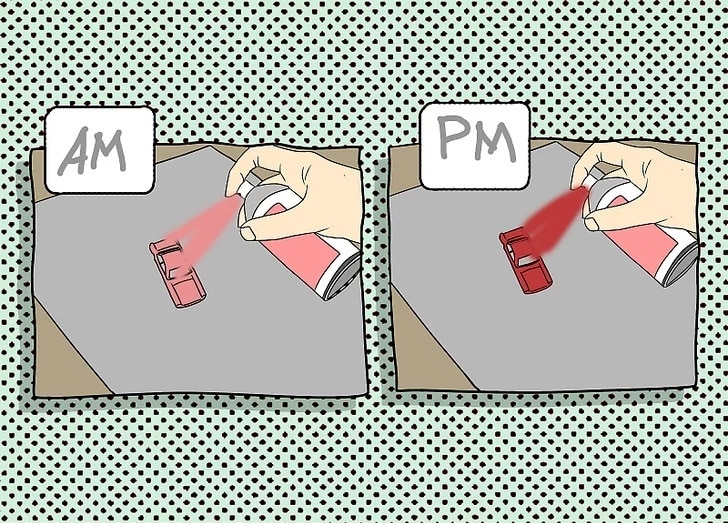
11- Remember, you will not be able to close the whole body on the first try.
12- Allow drying for at least 12 hours between coats.
(Warning: Try not to touch the diecast body between coats of paint, as oils from your skin can affect the paint). Use a bent coat hanger to hold the car body or continue painting on a stand. This way you don’t have to touch the painted surface.) However, if you really mess up the paint job, don’t worry, you can always get more brake fluid and start over.
Reference and images: https://www.imodelcar.com/paint-diecast-car-2/

